Bucket Bag Crochet Pattern
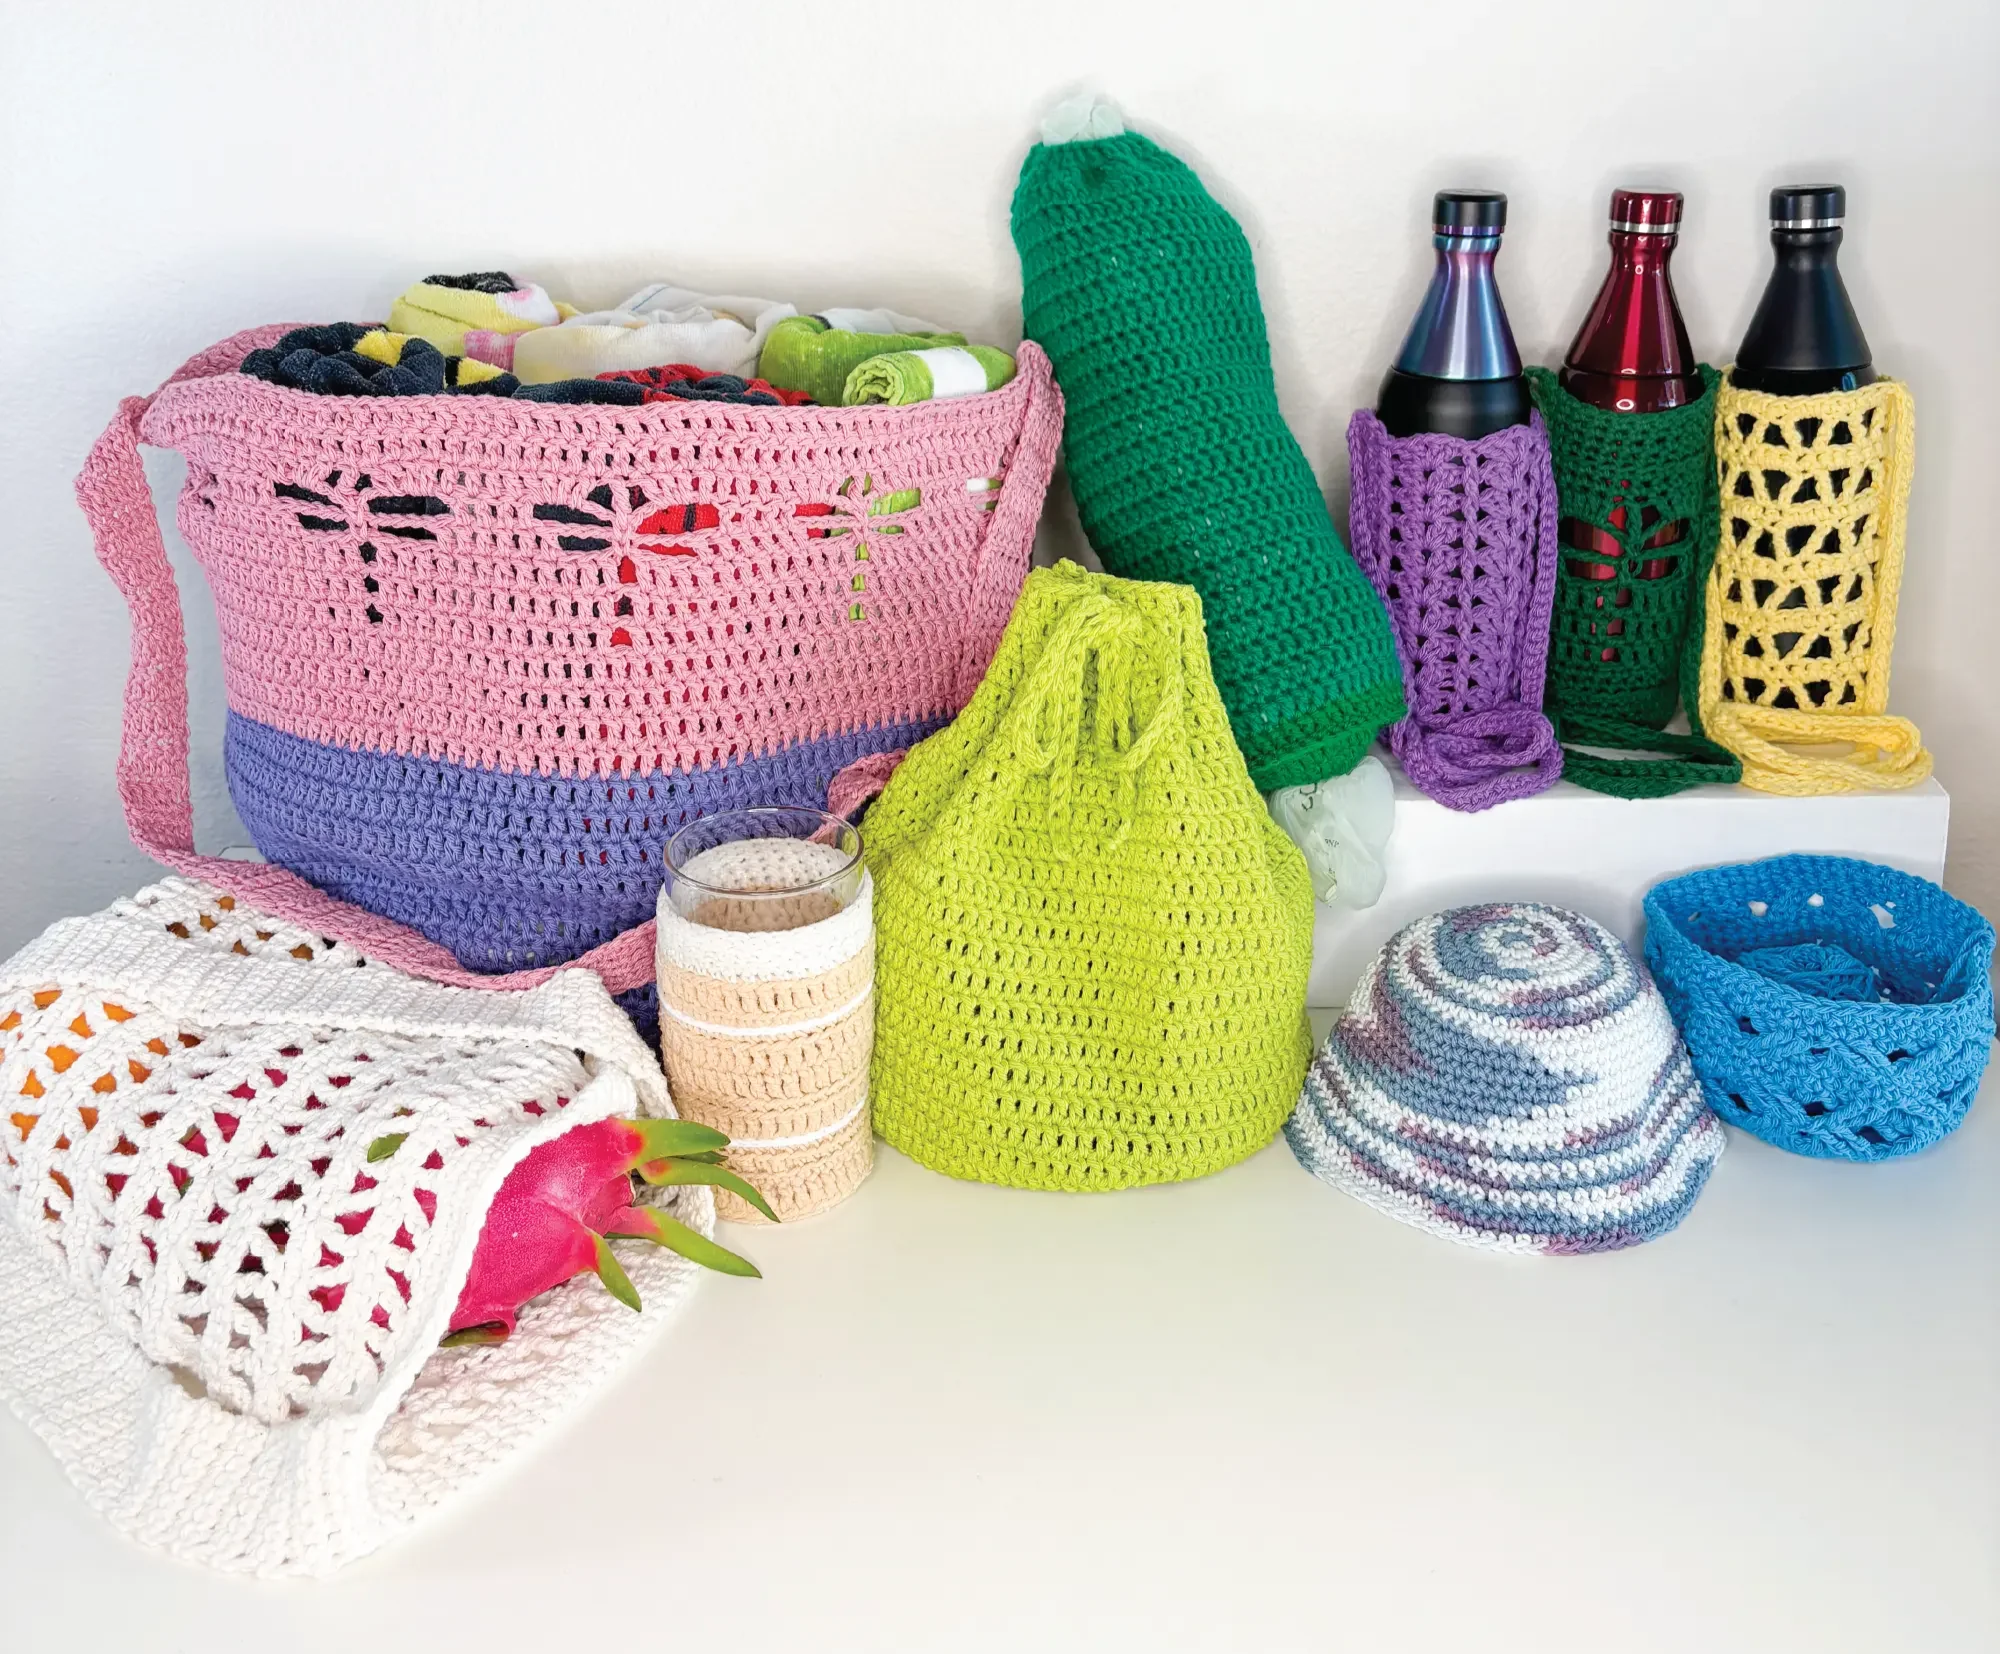
Use these instructions to make a variety of bucket bags in unlimited sizes. Worked completely in the round and shaped using increasing and non-increasing rounds. Start by using any of the four basic stitches (single, half double, double, or treble crochet) to create the bottom of the bag then continuing with any of these four or a repeat crochet pattern in a tube.
These instructions work with any of my repetitive crochet patterns.
Turning Chains and Slip Stitches
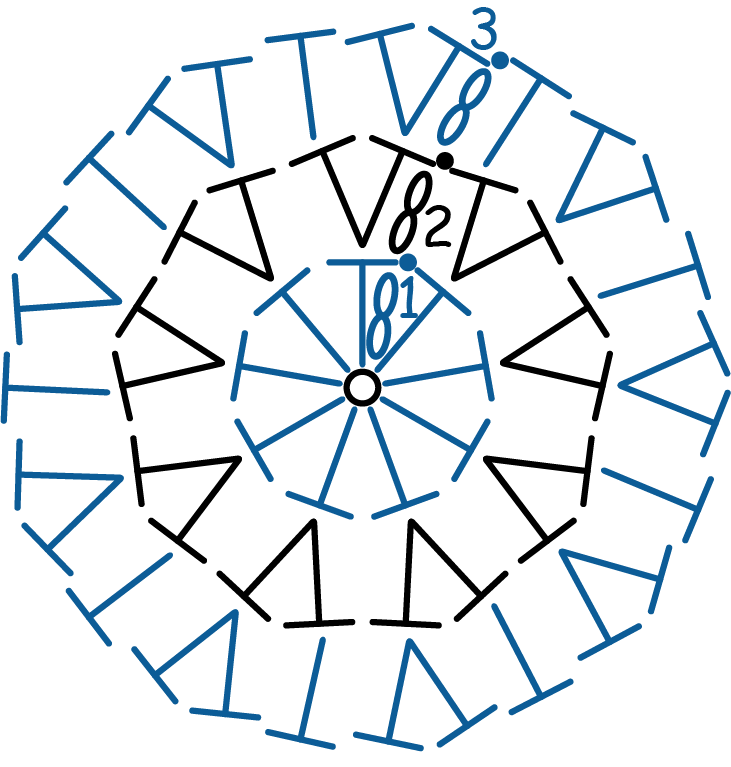
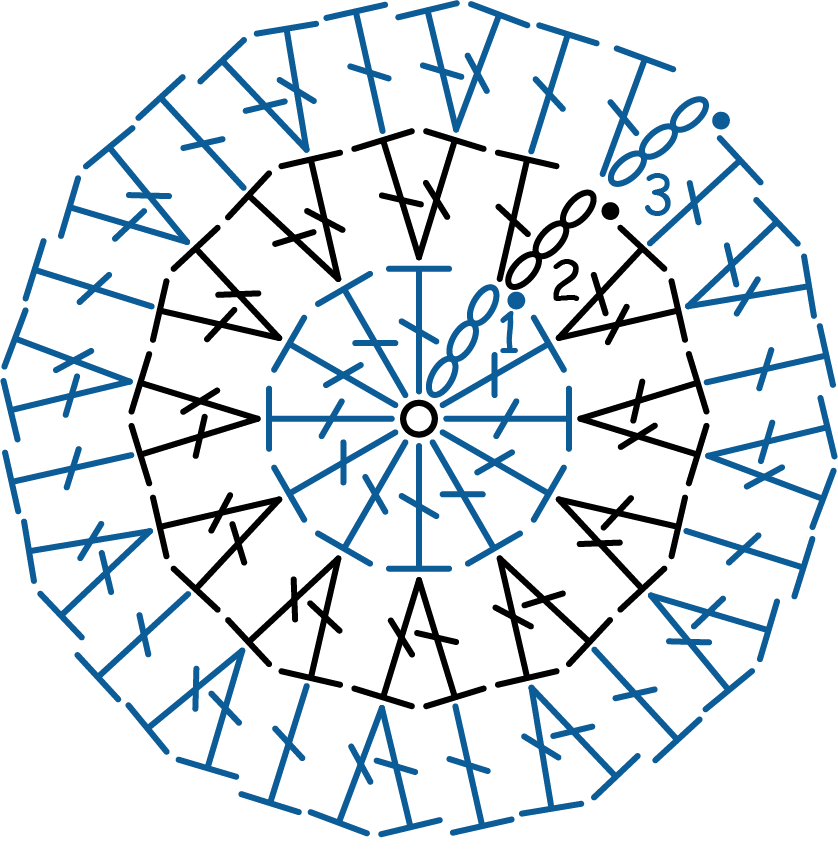
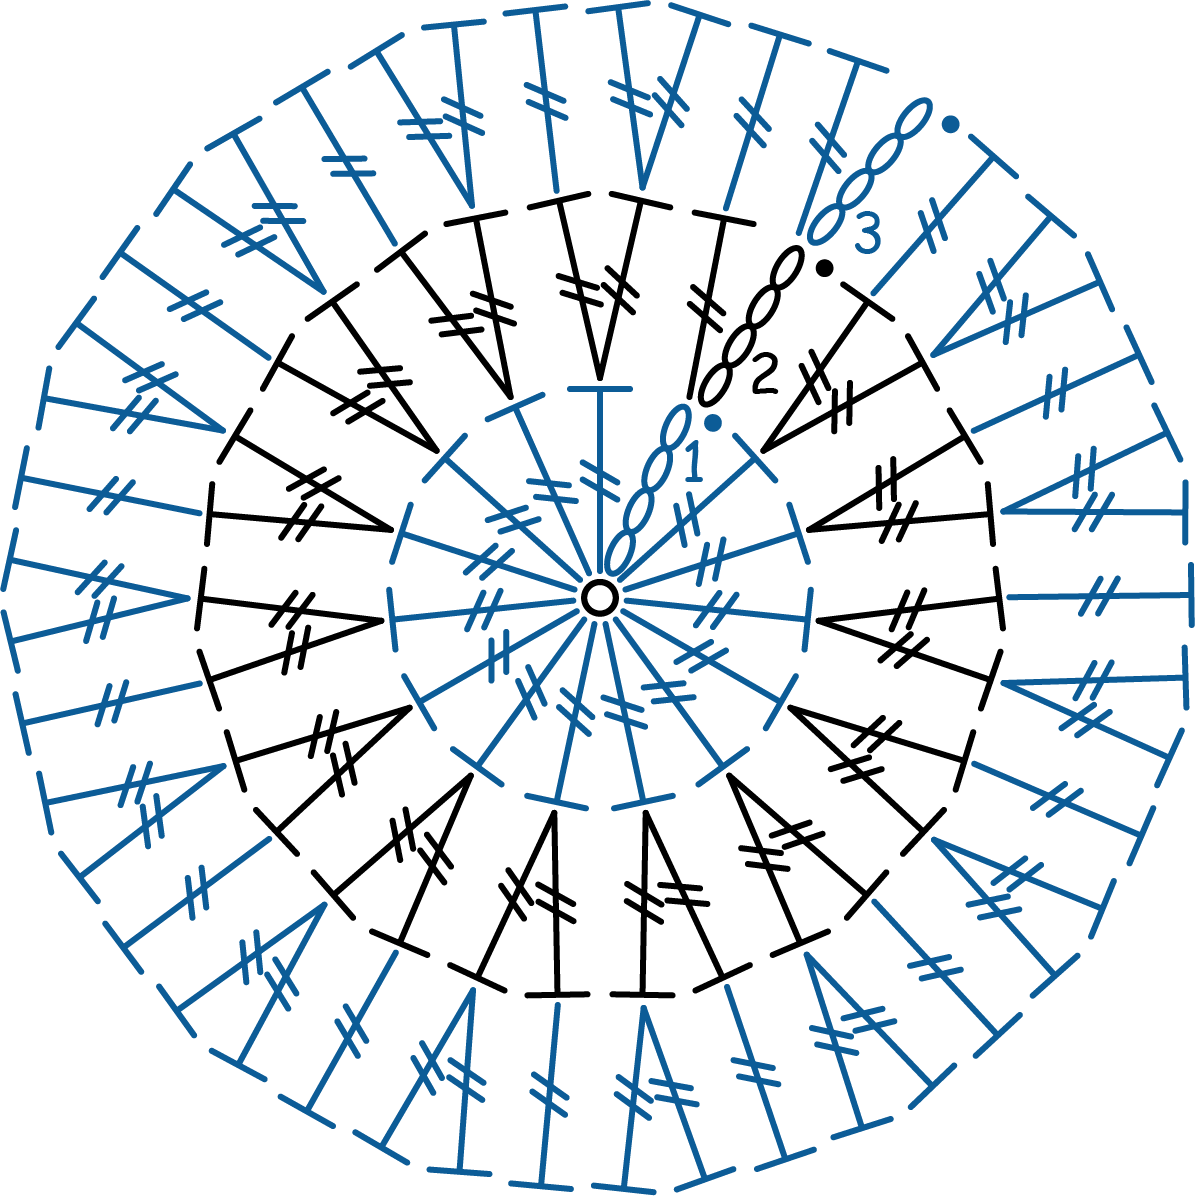
Follow the rules below for the stitch you choose. Reference diagrams after circle pattern for visuals.
Turning chains: Use at the start of each round.
sc – ch 1, only use for round 1 and none after, does not count as a stitch.
hdc – ch 2, use each round, does not count as a stitch.
dc – ch 3, use each round, counts as first stitch of each round.
tr – ch 4, use each round, counts as first stitch of each round.
Slip stitches: Use at the end of each round to link the last stitch to the first stitch to close the round.
sc – only use for very last round worked, link last sc to first sc. If stopping on round 1, skip turning chain as this does not count as stitch.
hdc – use each round, link last hdc to first hdc, skip turning chain as this does not count as stitch.
dc, & tr – use each round, link last stitch to turning chain as this counts as a stitch.
Bag Bottom
Start by creating a circle for the base of your bag by using the pattern below. This pattern works with any of the four basic stitches mentioned above. The size and shape of the circle is not set and will vary depending on which stitch you choose and how many you work in round 1.
X = number of stitches worked in round 1
Below is a range of how many stitches to use in round 1 to achieve a flat circle. If you want a coned, bowled or ruffled shape decrease or increase X. I recommend no less than 4 or no more than 20 stitches. If you want a hole in the middle, refer to round 2 or after for how to begin.
6 - 7 sc
9 - 11 hdc
12- 13 dc
14 - 18 tr
Tip: If working single crochet, use a stitch marker to mark the first or last stitch of each round as it can be hard to track.
Circle Pattern
For instructions on magic ring (MR) and foundation ring (FR) look at Crochet - working in rounds
Create a MR or a FR of 3 chs.
Inc Rd 1: Work X sts on a ring, Sl st to first st to close if applies.
(X) – total number of stitches in round
Sample starts with 6 sc.
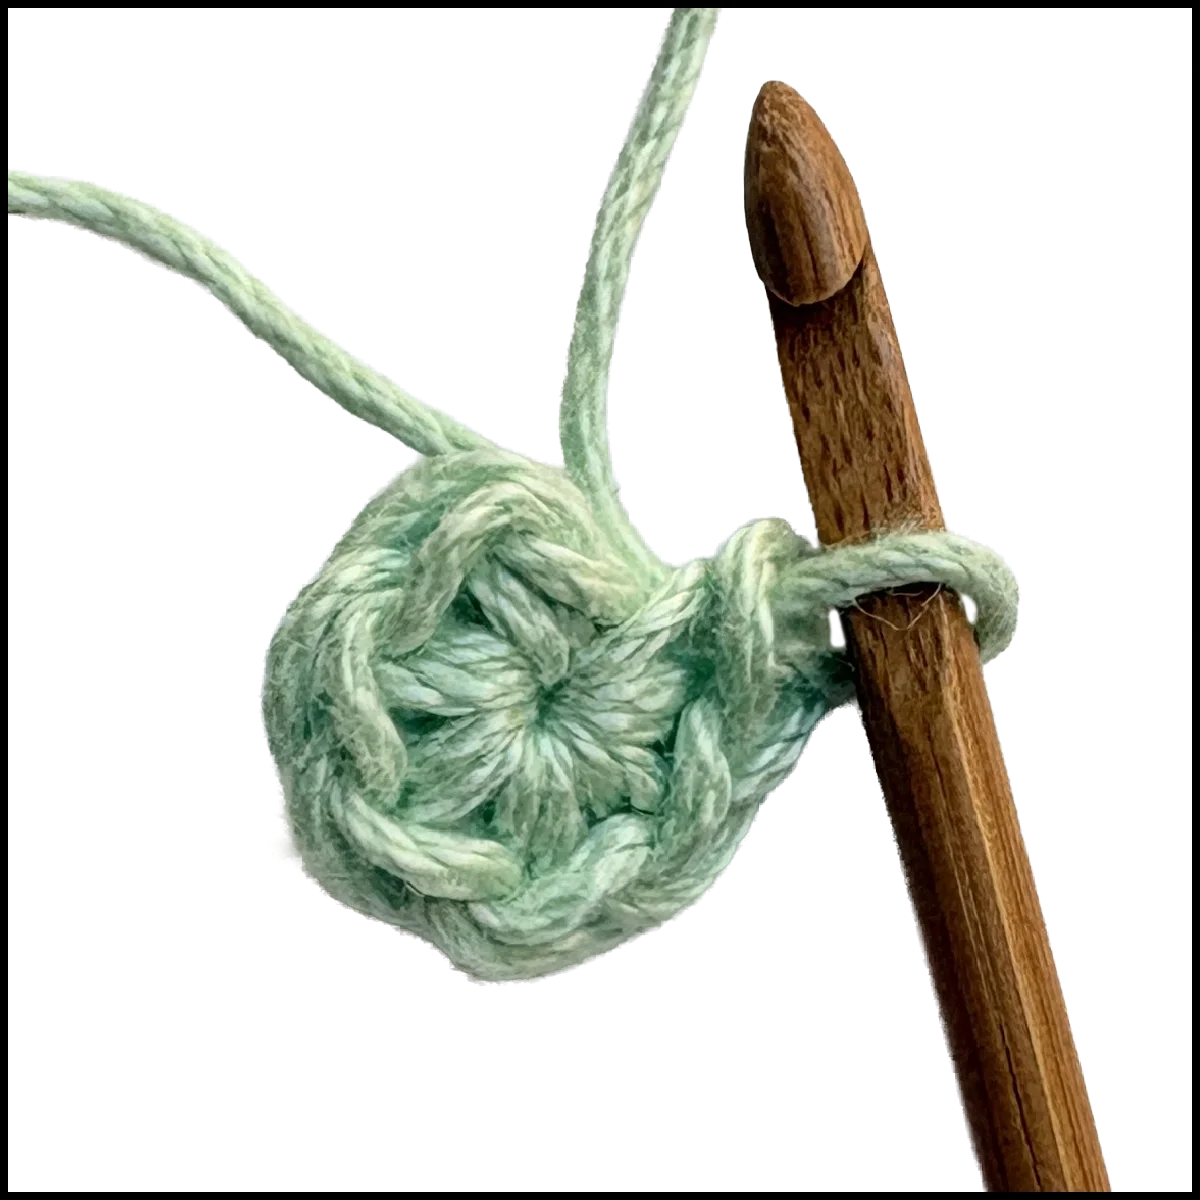
If starting with rd 2, create a FR of X chs.
Inc Rd 2: Work 2 sts in each st on rd, Sl st to first st to close if applies.
(X*2)
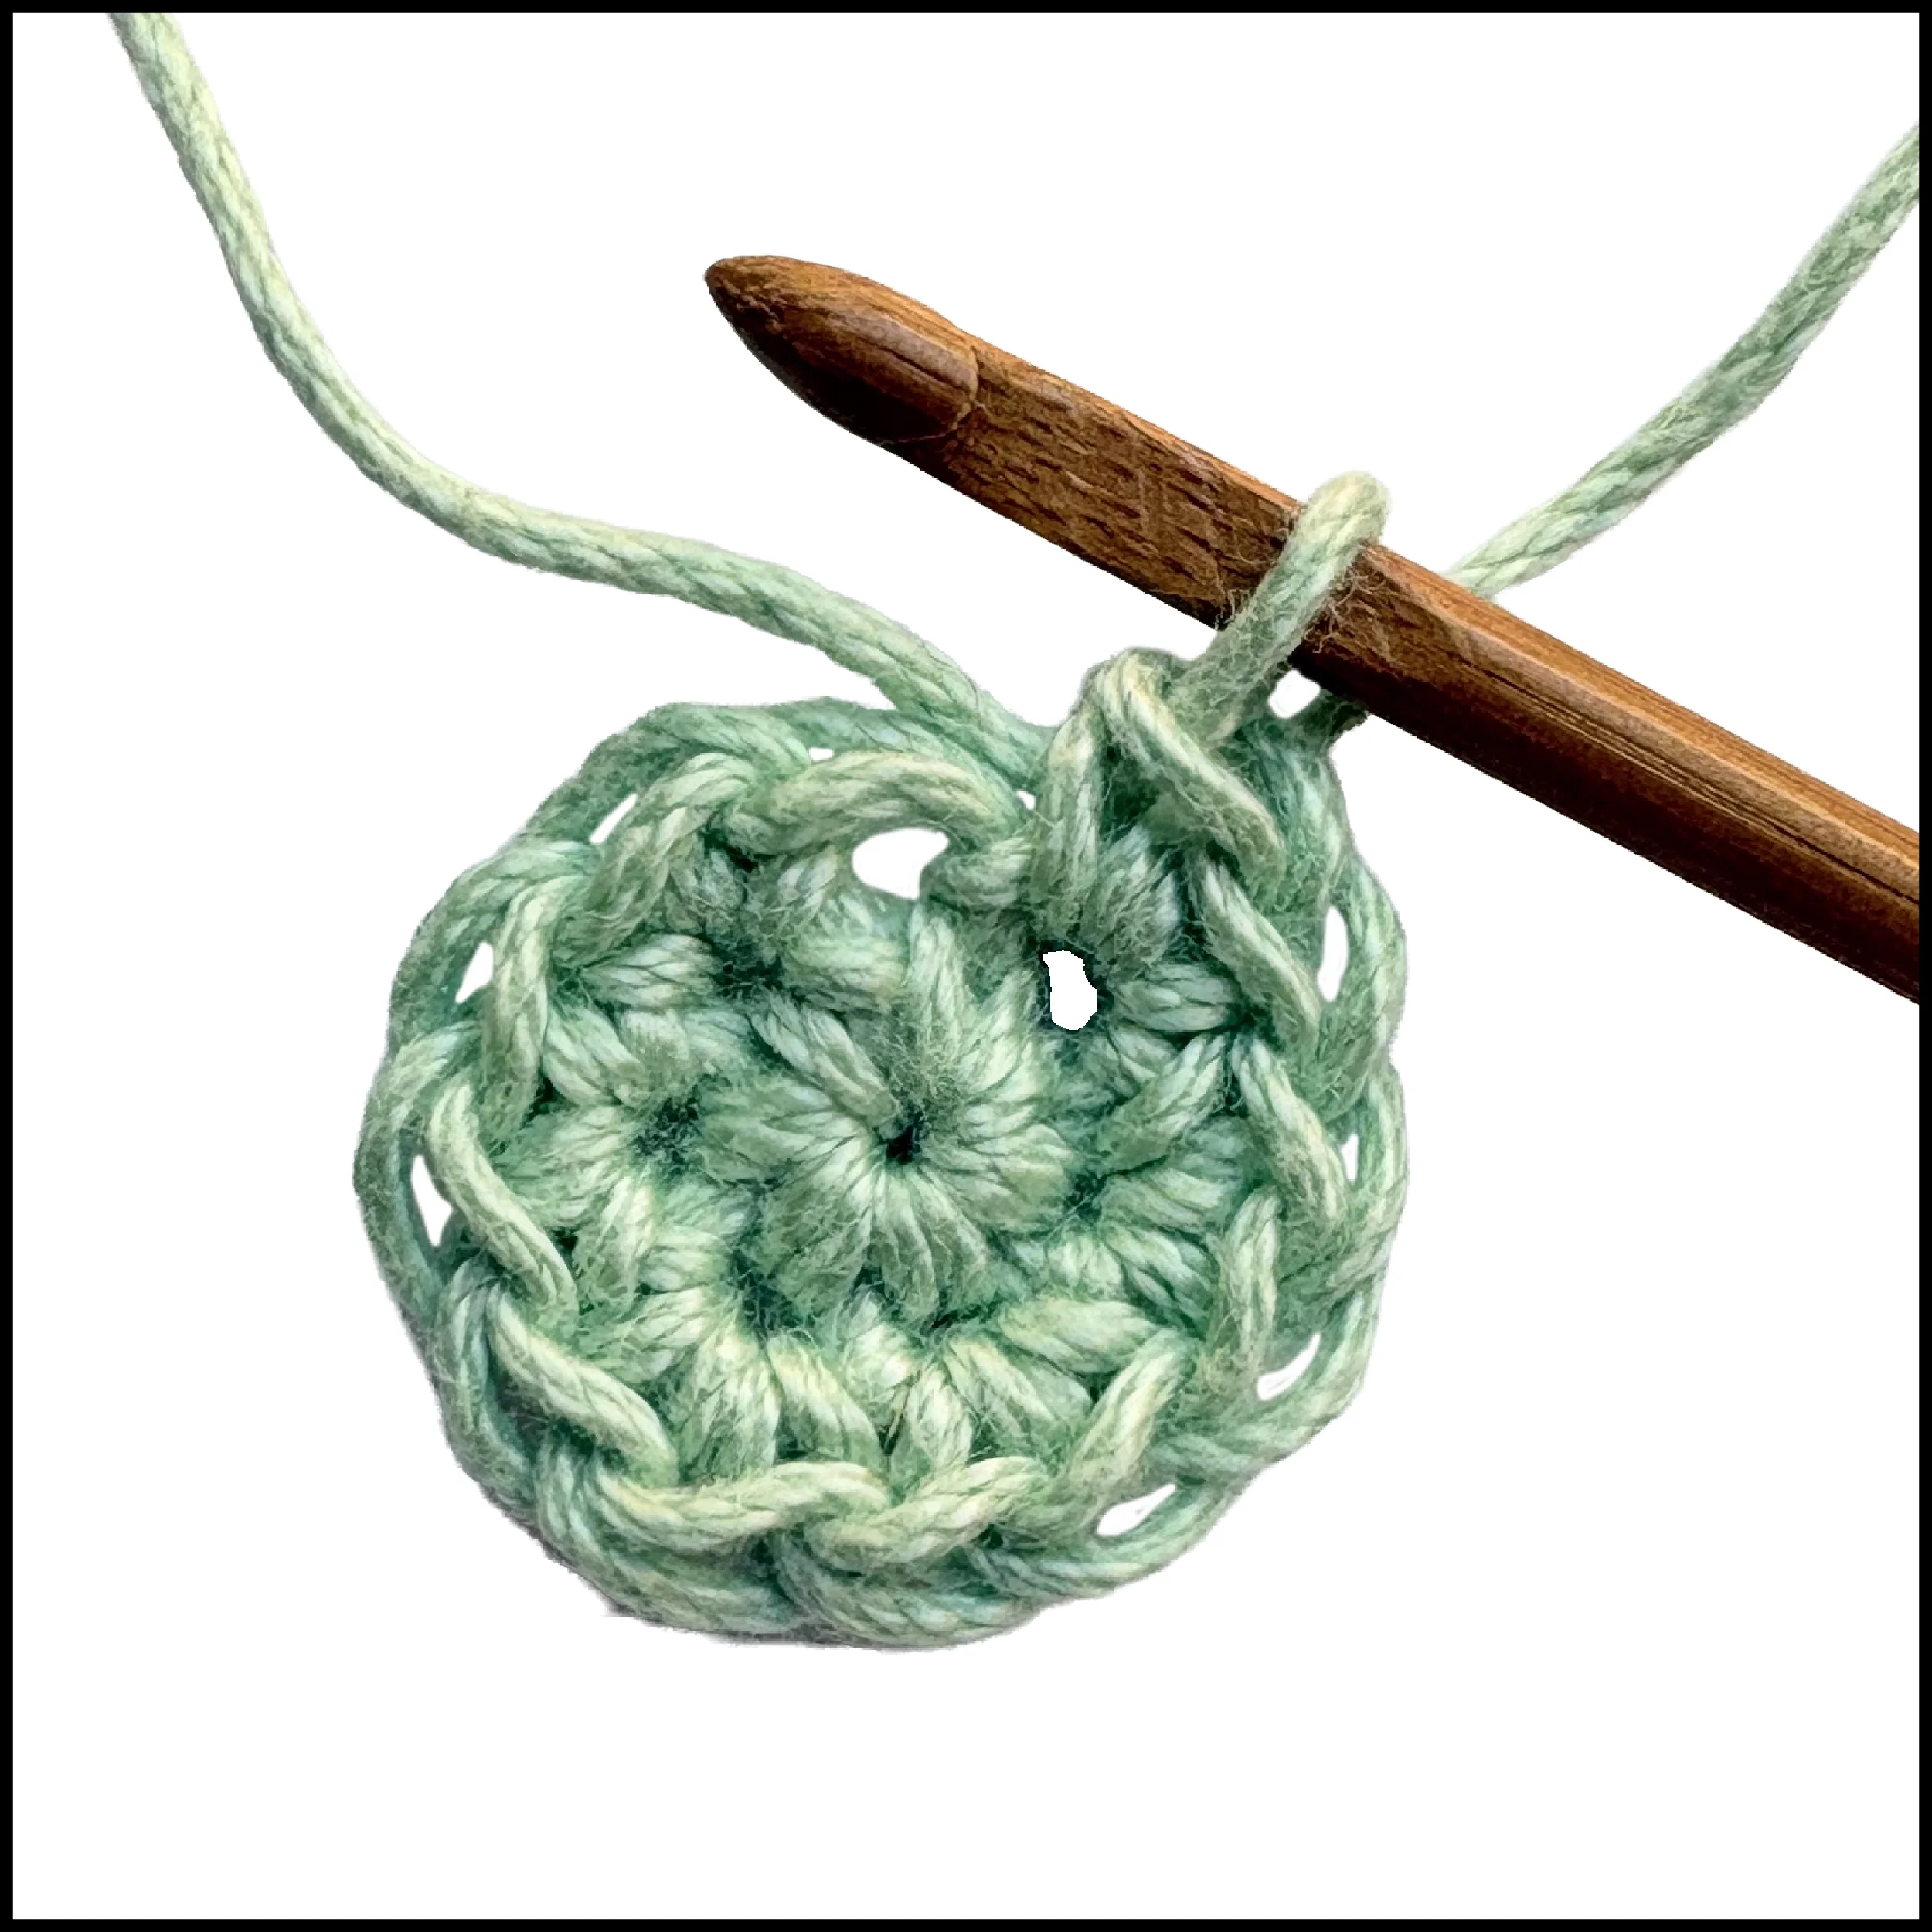
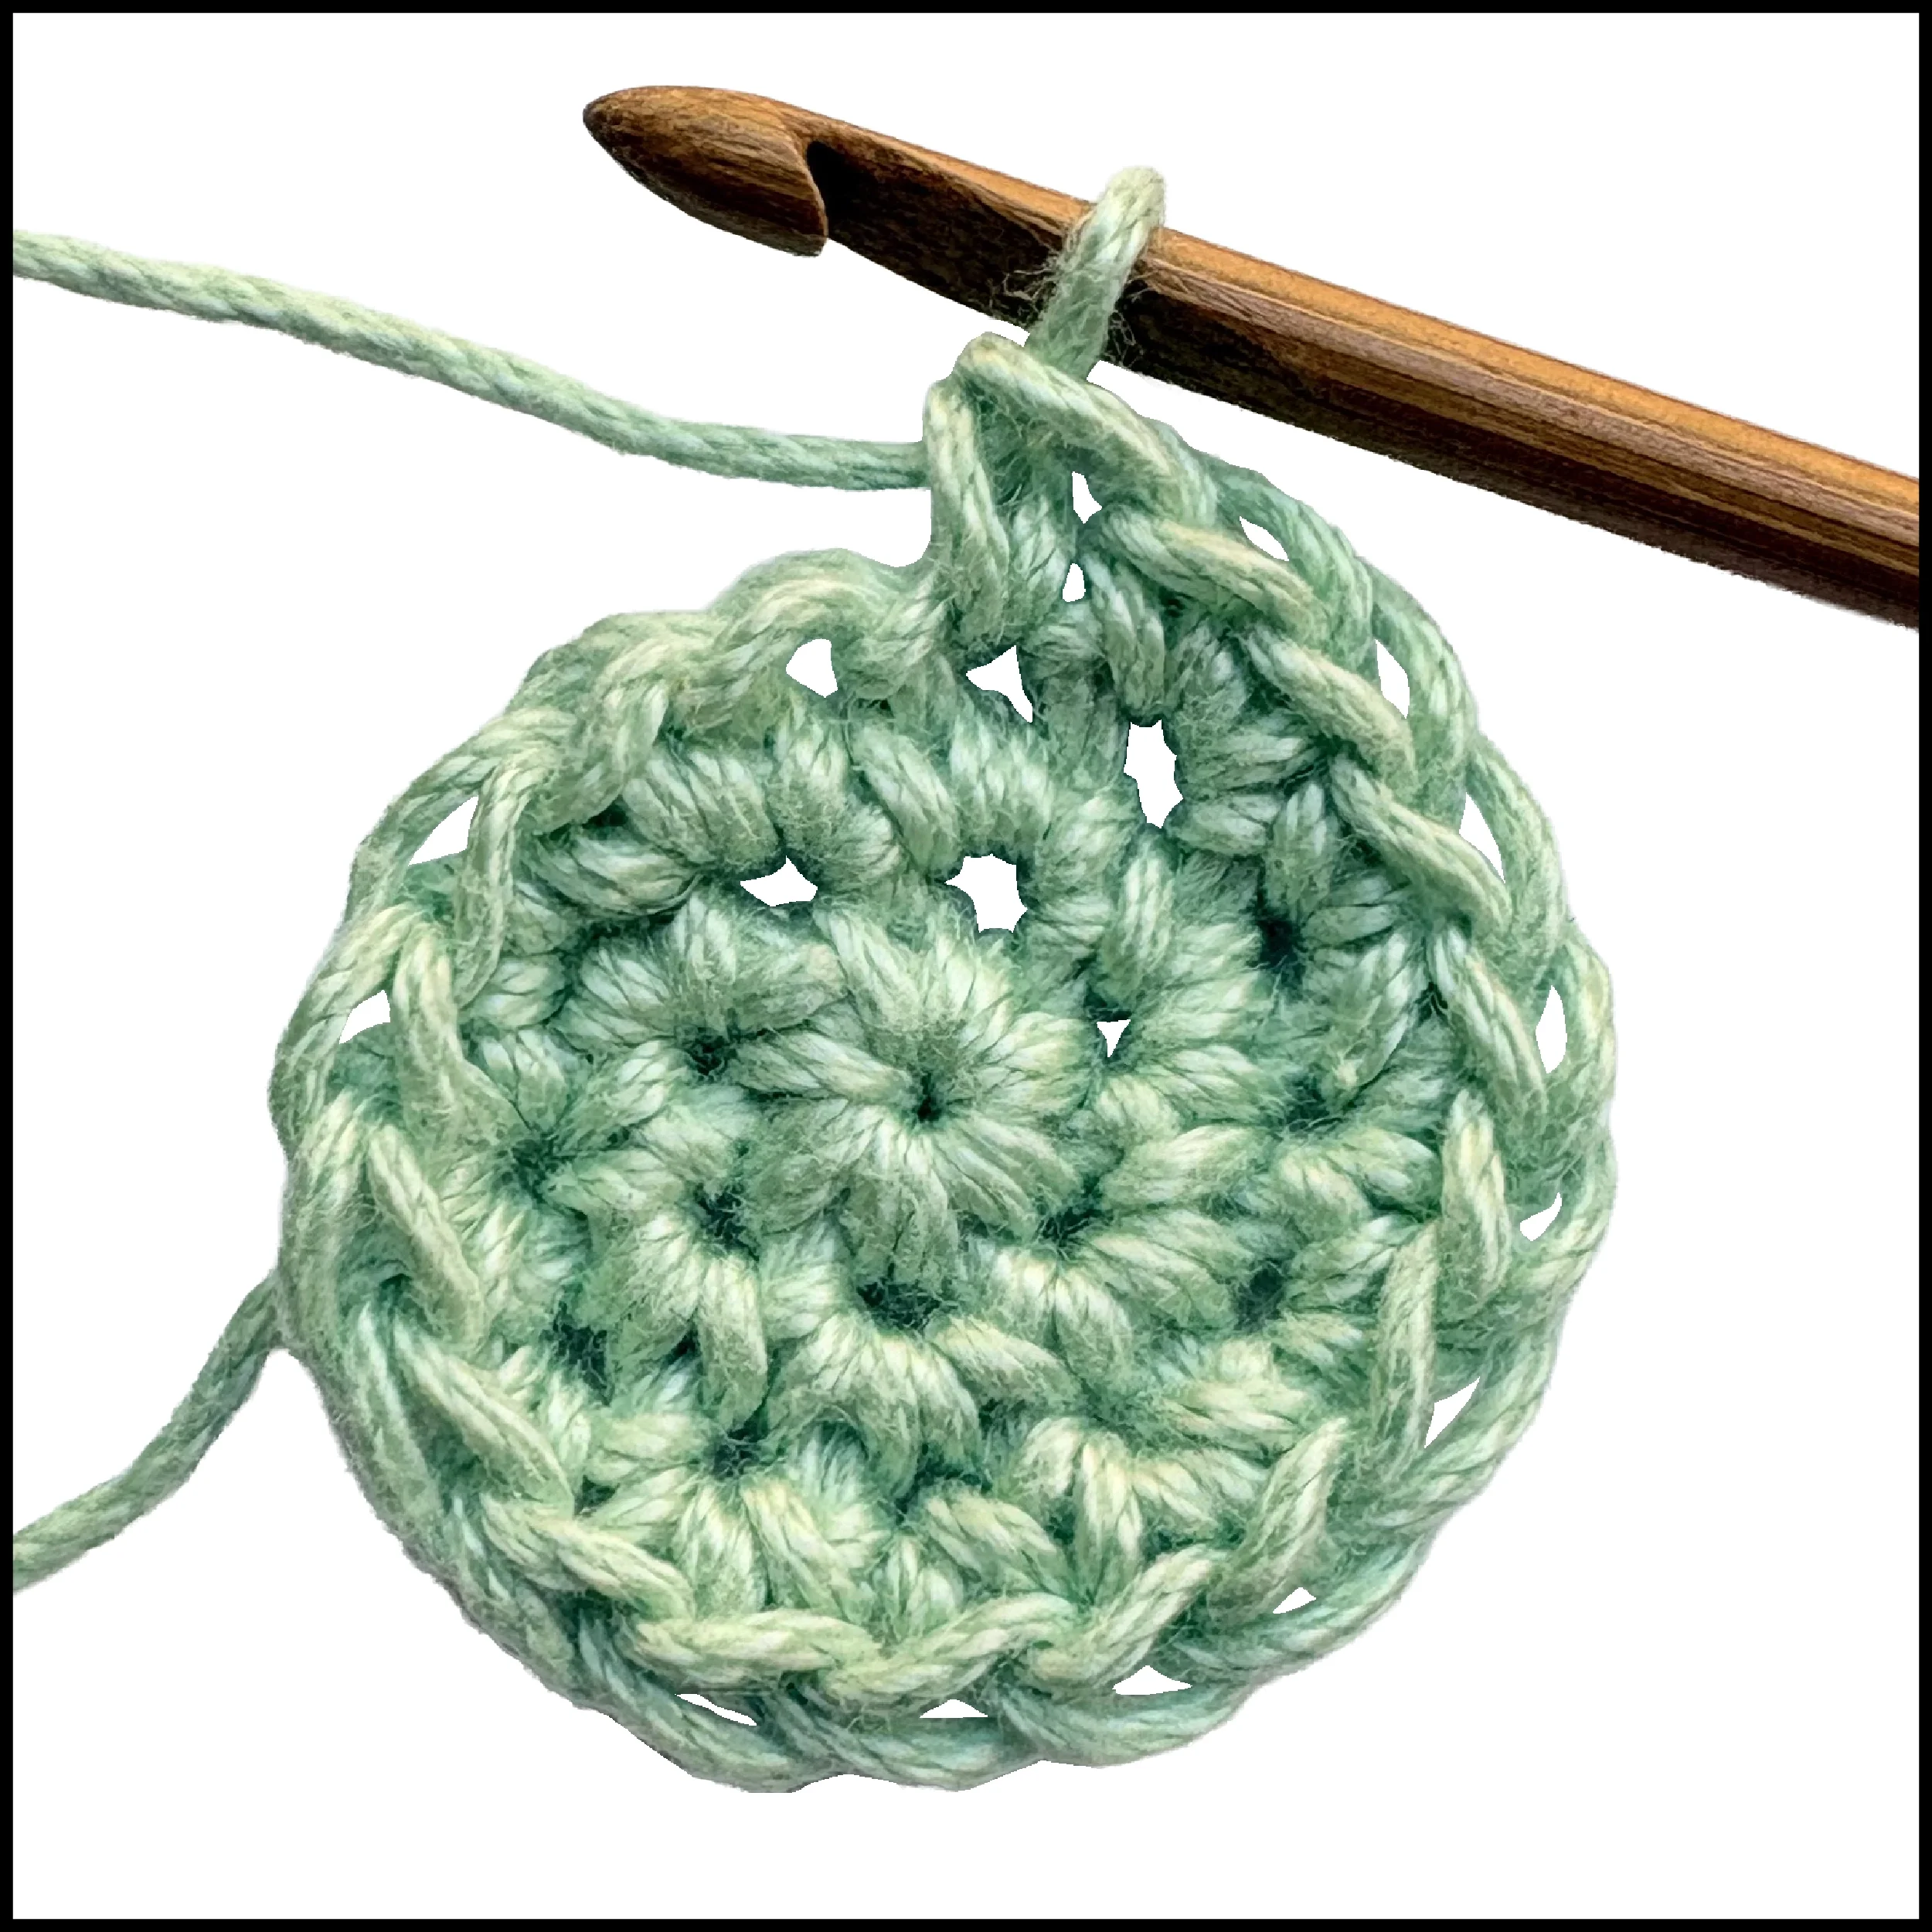
If starting with rd 3, Create a FR of X*2 chs.
Inc Rd 3: *Work 2 sts in first st, work 1 st in next st, rep from * until end of rd, Sl st to first st to close if applies.
(X*3)
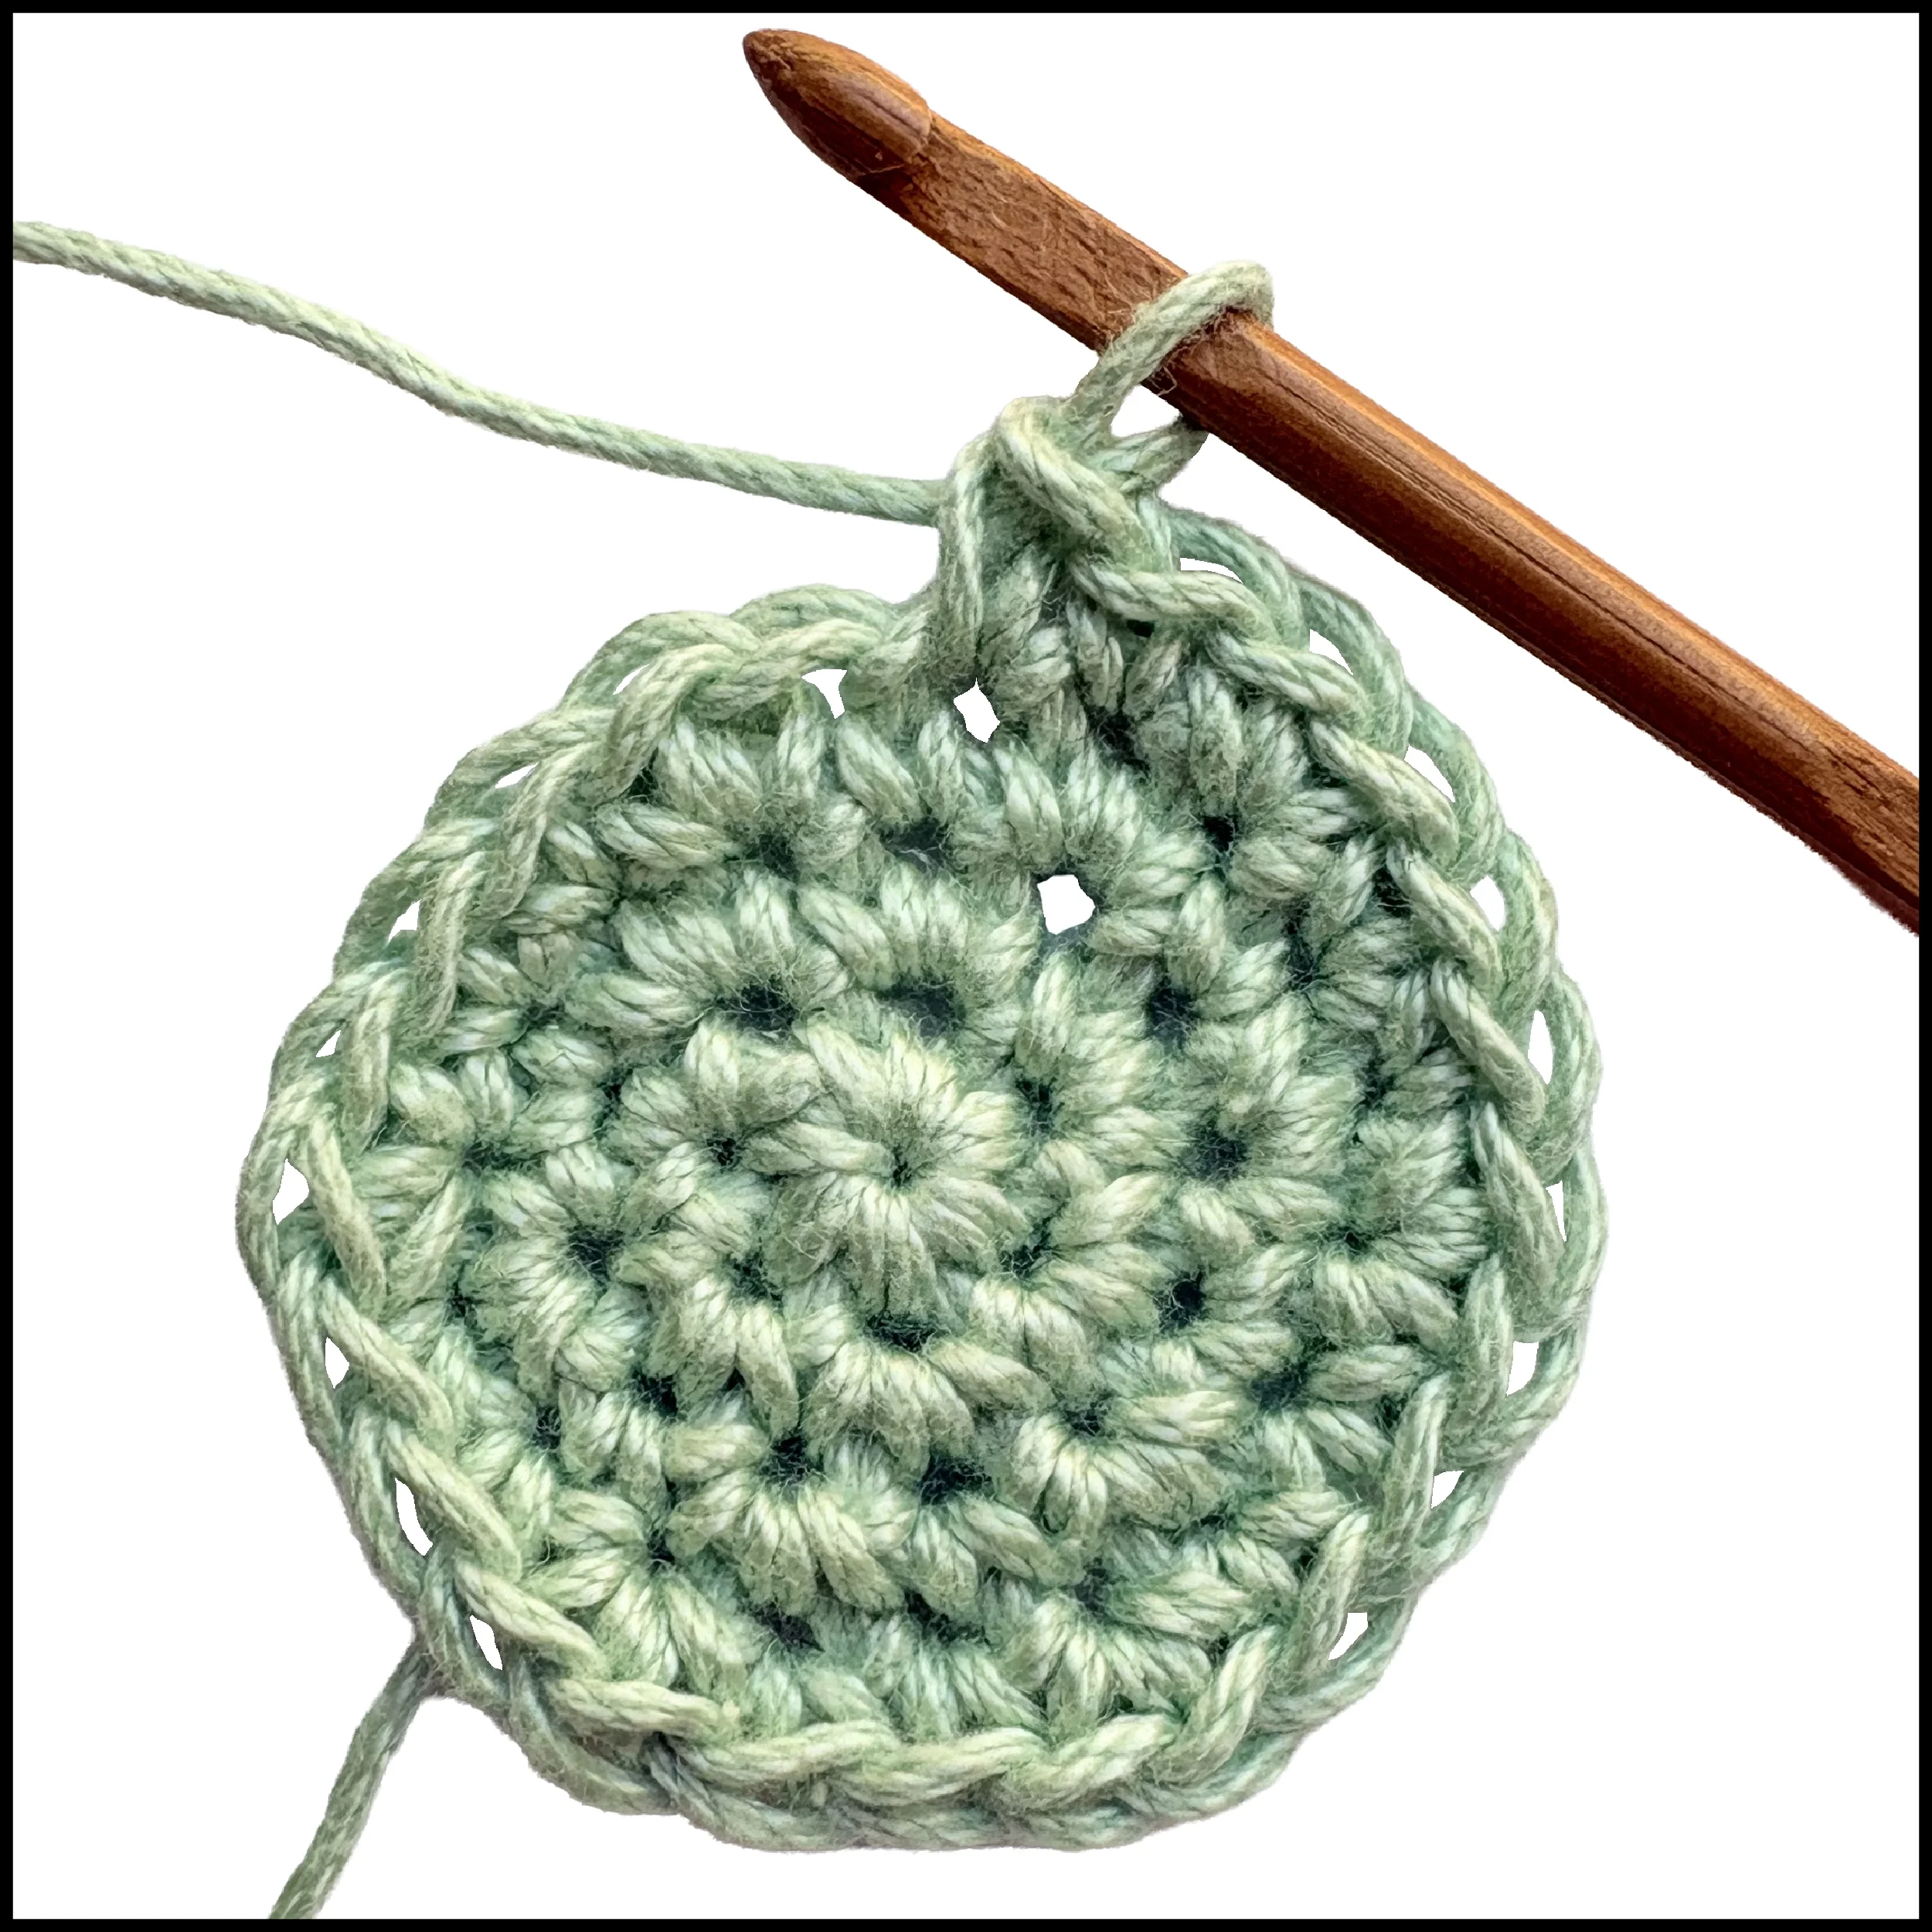
If starting with rd 4, Create a FR of X*3 chs.
Inc Rd 4: *Work 2 sts in first st, work 1 st in each of the next 2 sts, rep from * until end of rd, Sl st to first st to close if applies.
(X*4)
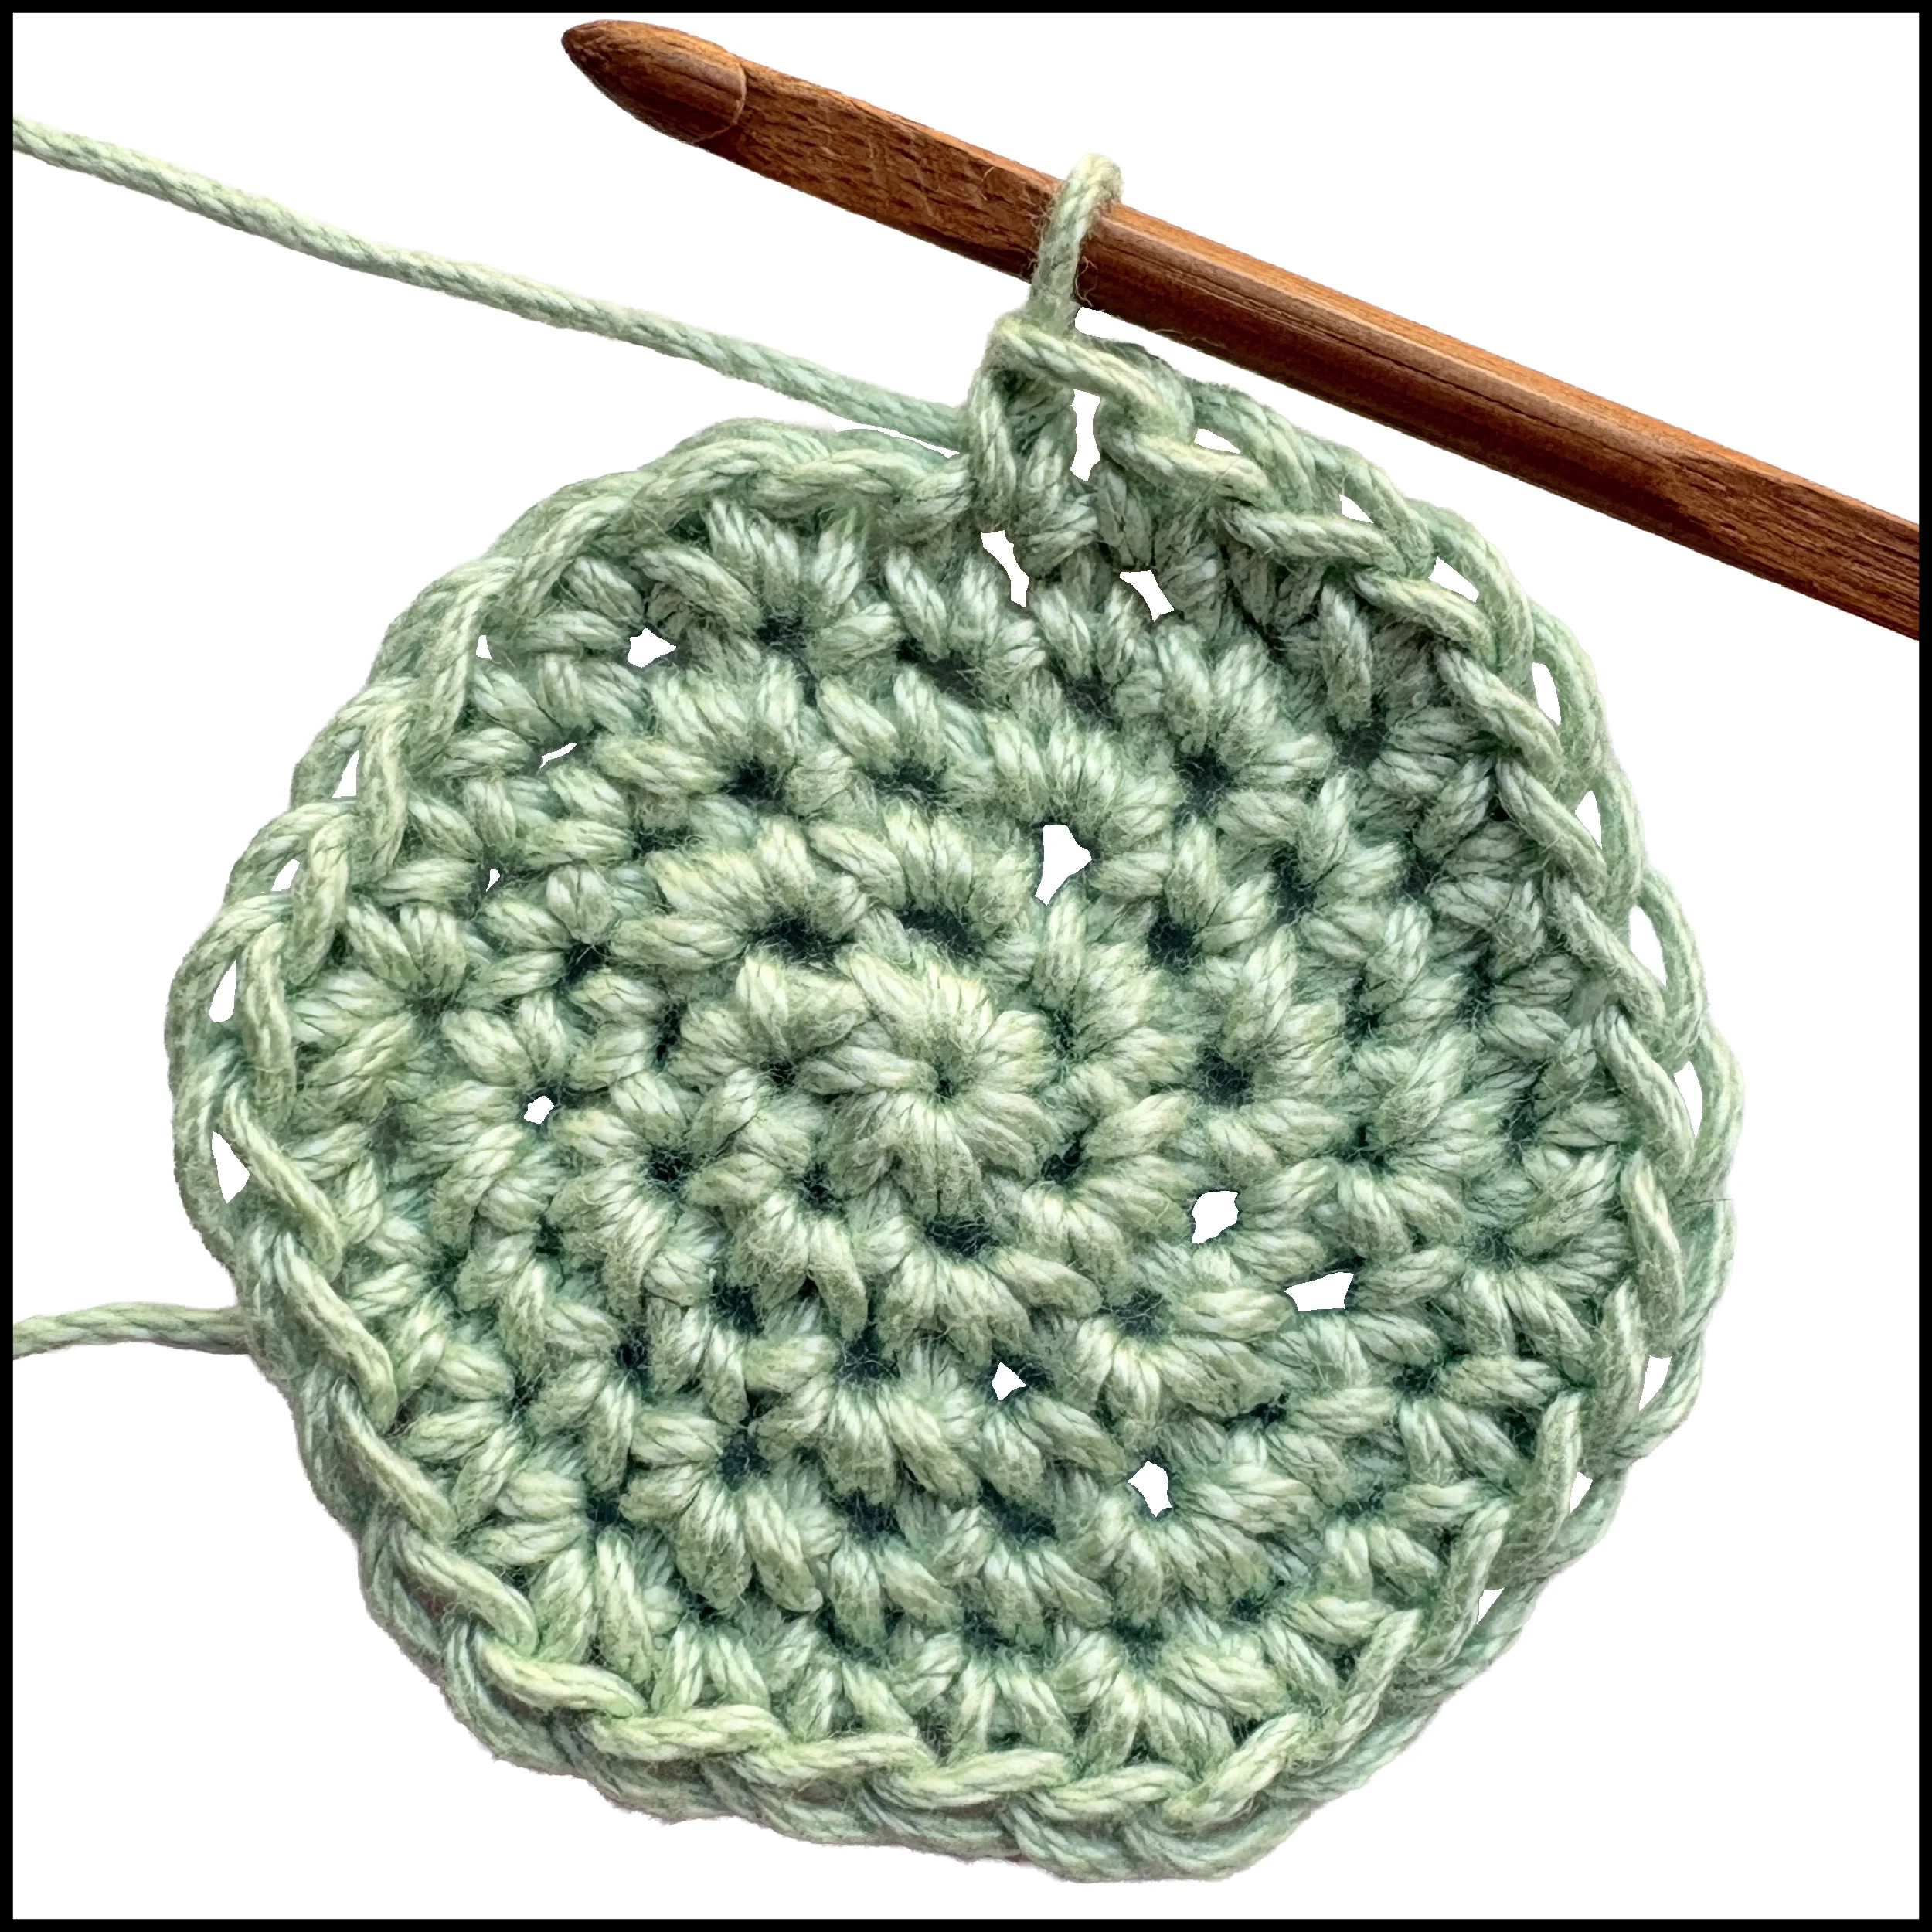
If starting with rd 5, Create a FR of X*4 chs.
Inc Rd 5: *Work 2 sts in first st, work 1 st in each of the next 3 sts, rep from * until end of rd, Sl st to first st to close if applies.
(X*5)
Stop on any of the increasing rounds above or continue increasing your circle by adding 1 extra stitch at the end of each rep for each new round as you have above.
Inc Rd 6: *2 sts in first st, 1 in each of the next 4 sts.
Inc Rd 7: *2 sts in first st, 1 in each of the next 5 sts.
Another way to create a bowled shape is to work one or more non-increase rounds between each increase round above.
Non-Inc Rd: Work 1 st in each st on the round, Sl st to first st to close if applies.
Flat Circle Diagrams
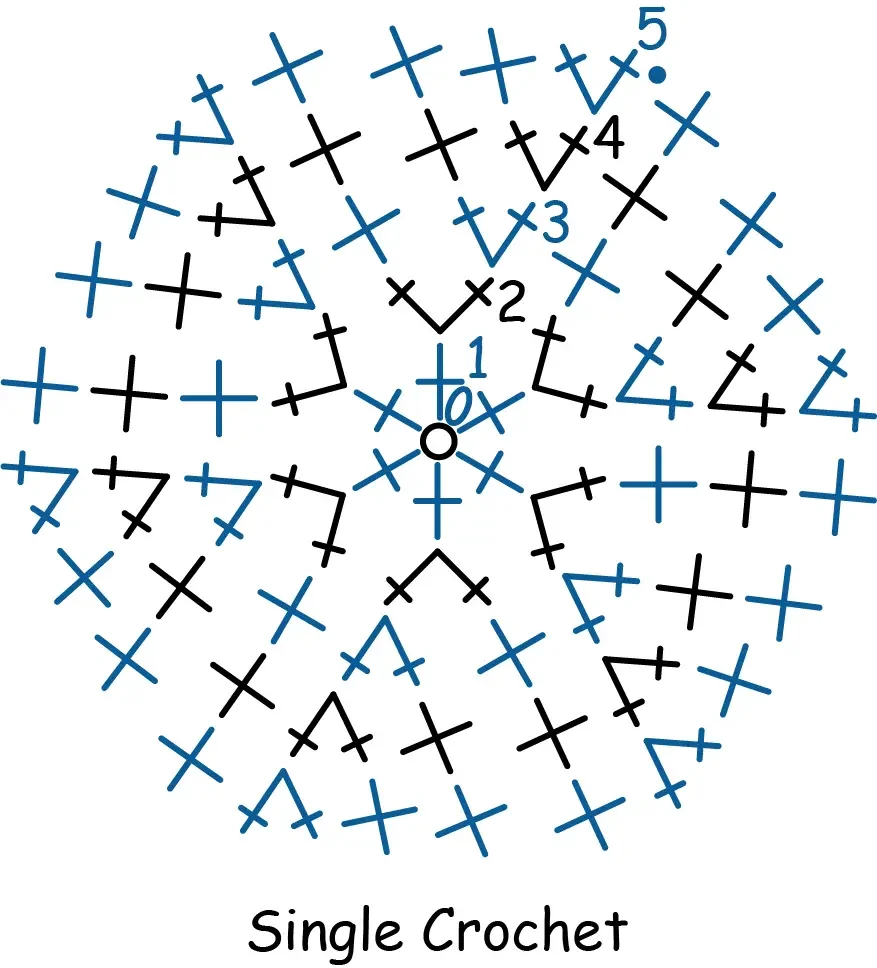
Single Crochet
Half Double Crochet
Double Crochet
Treble Crochet
Bag Walls
Once your circle bottom is complete you can continue using the same basic stitch you started with or switch to another stitch or repeat pattern. You can work your walls in a number of ways.
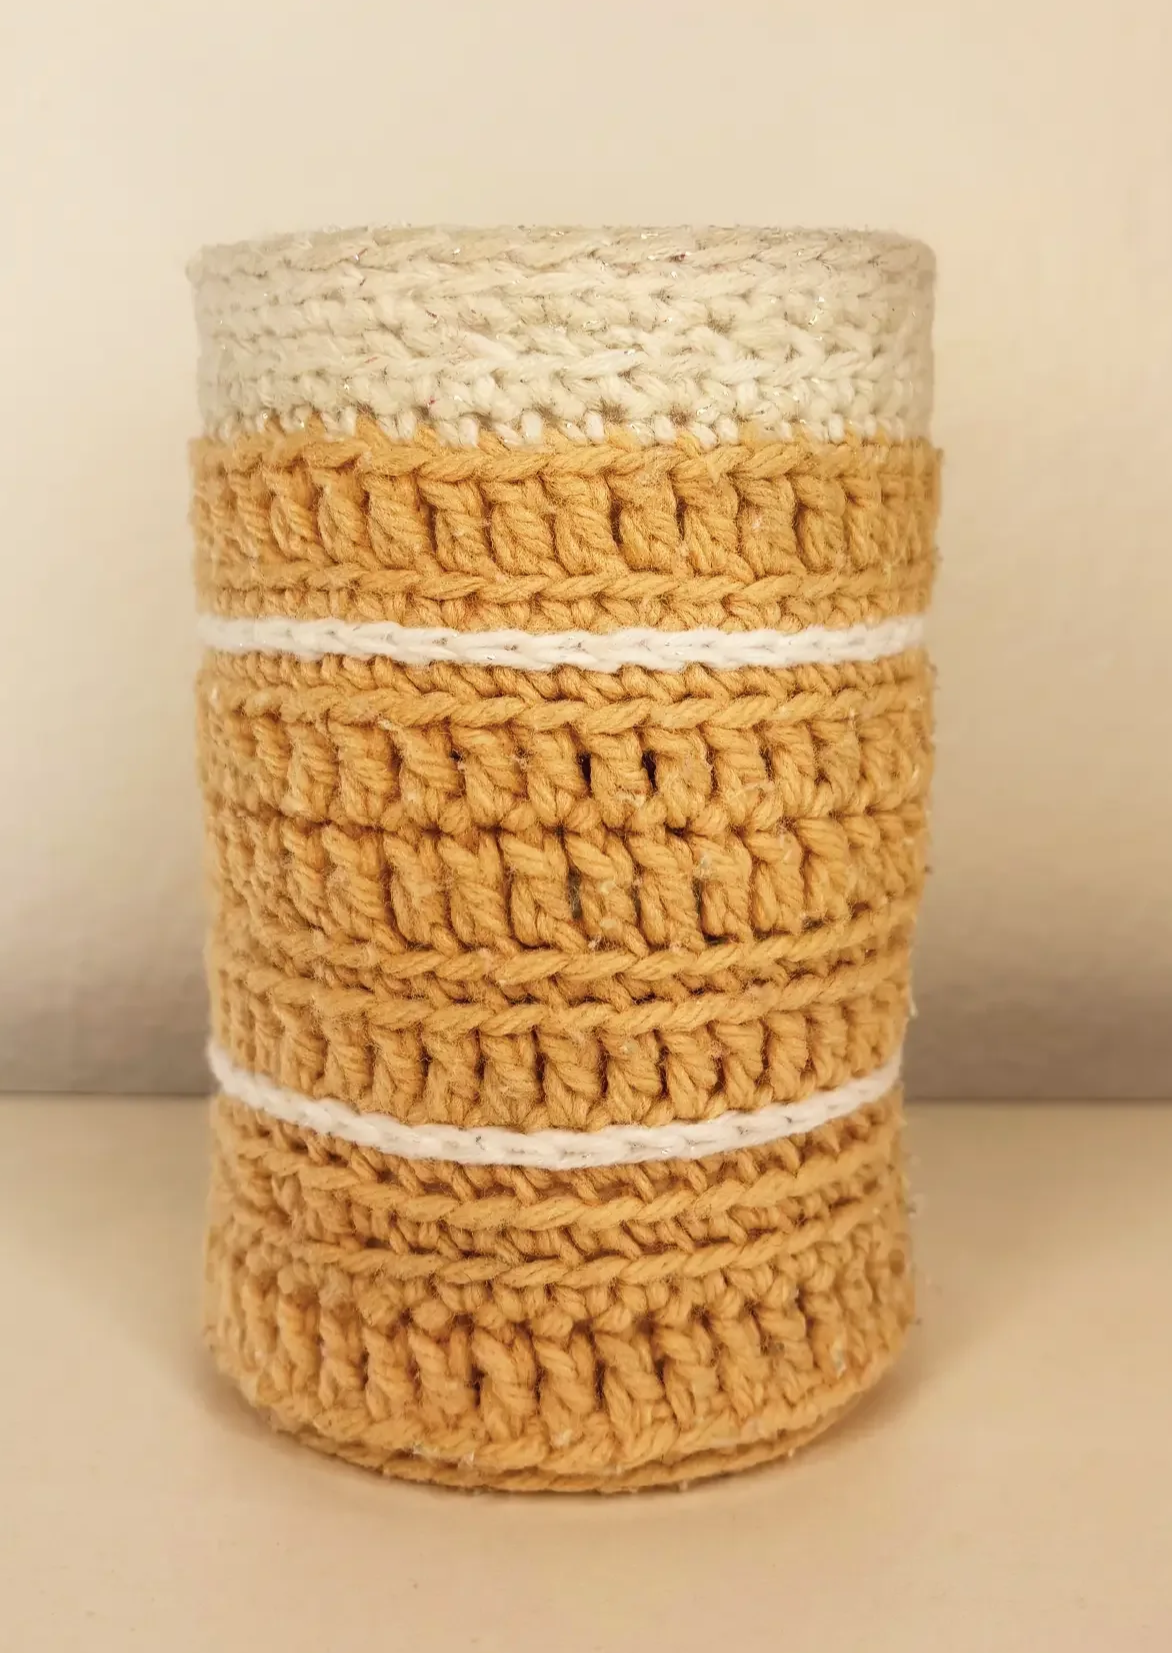
Work non-increasing rounds to create straight walls.
Great for:
Water Bottle Holder
Yoga Bag
Grocery Bag
Gift Bag
Drink Cozy
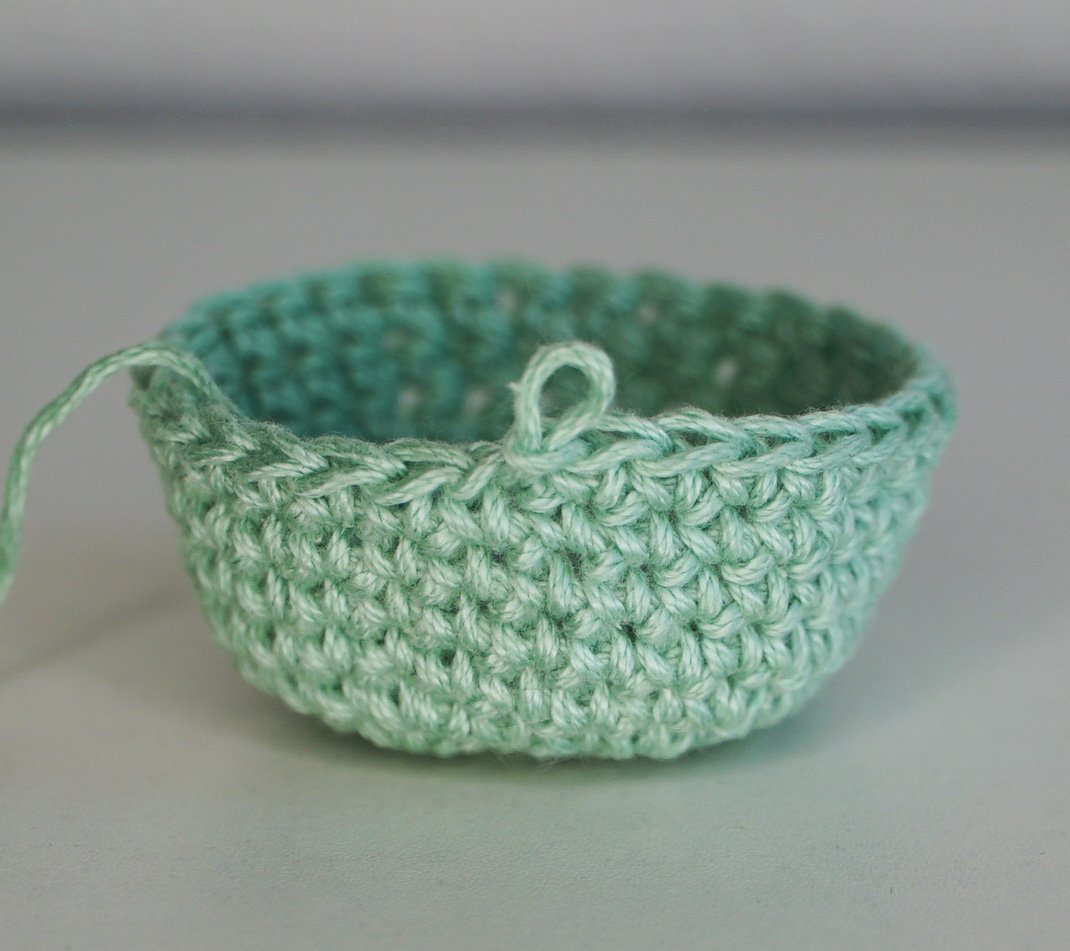
Work in front or back loops or posts to add a design flare. You can even add rounds of Sl st on top of other rounds for a layered look.
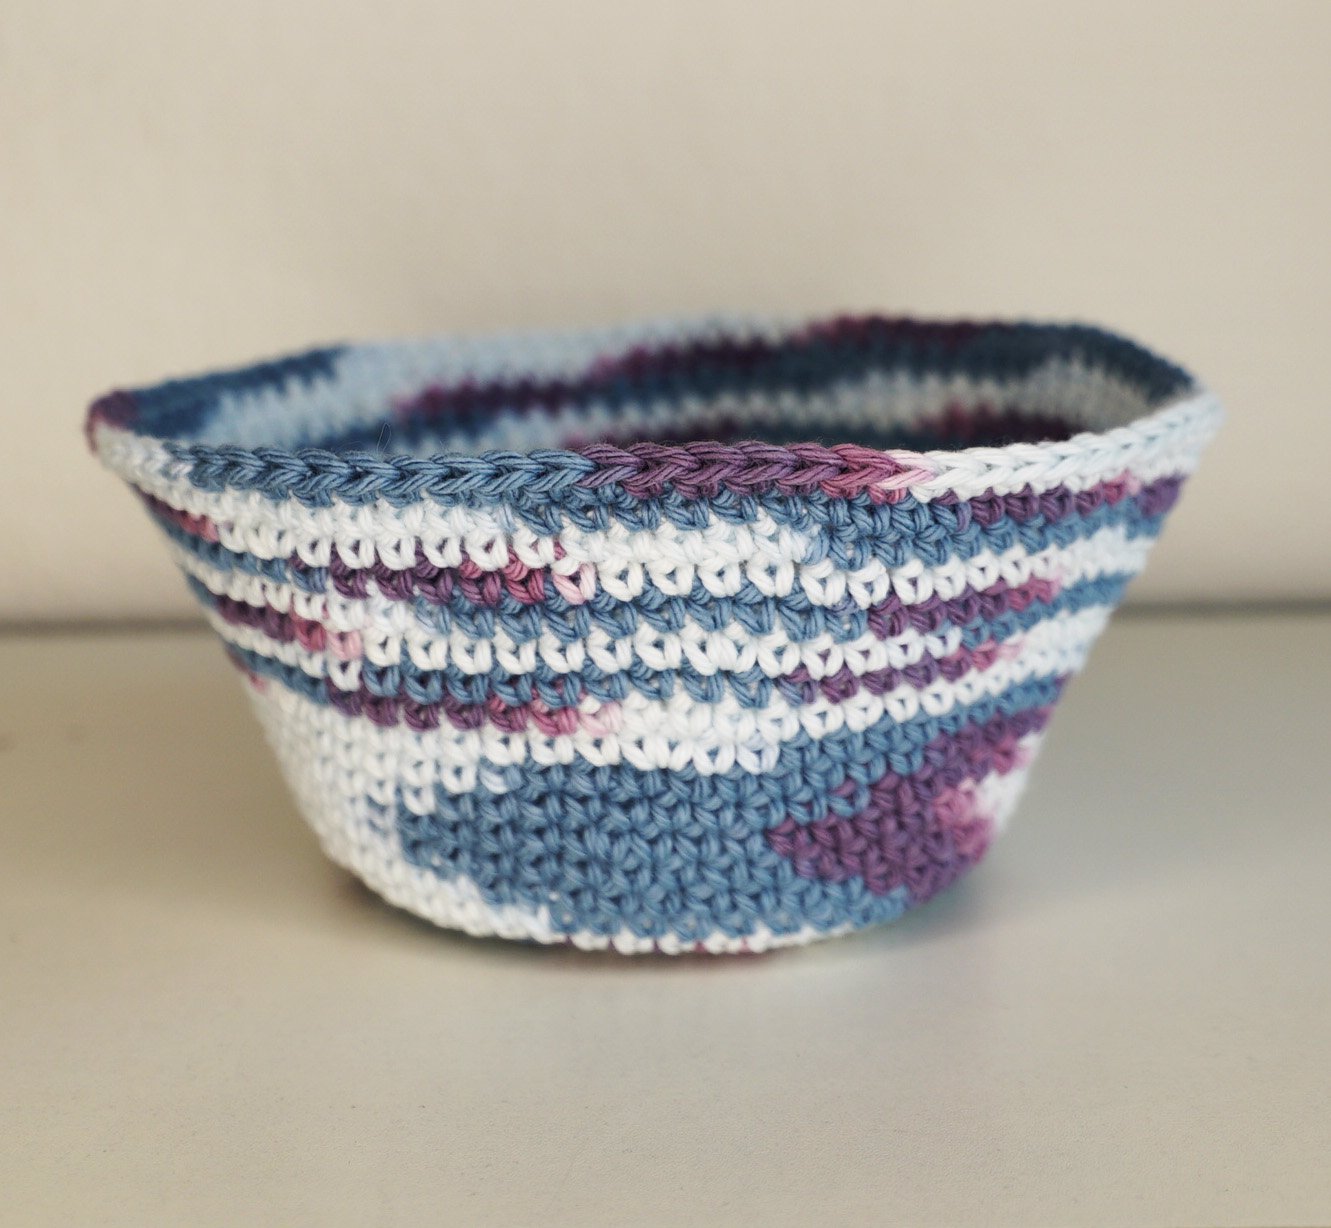
Alternate between non-increasing and increasing rounds to create sloped walls.
Great for:
Beach Bag
Bucket Hat
Fruit Bowl
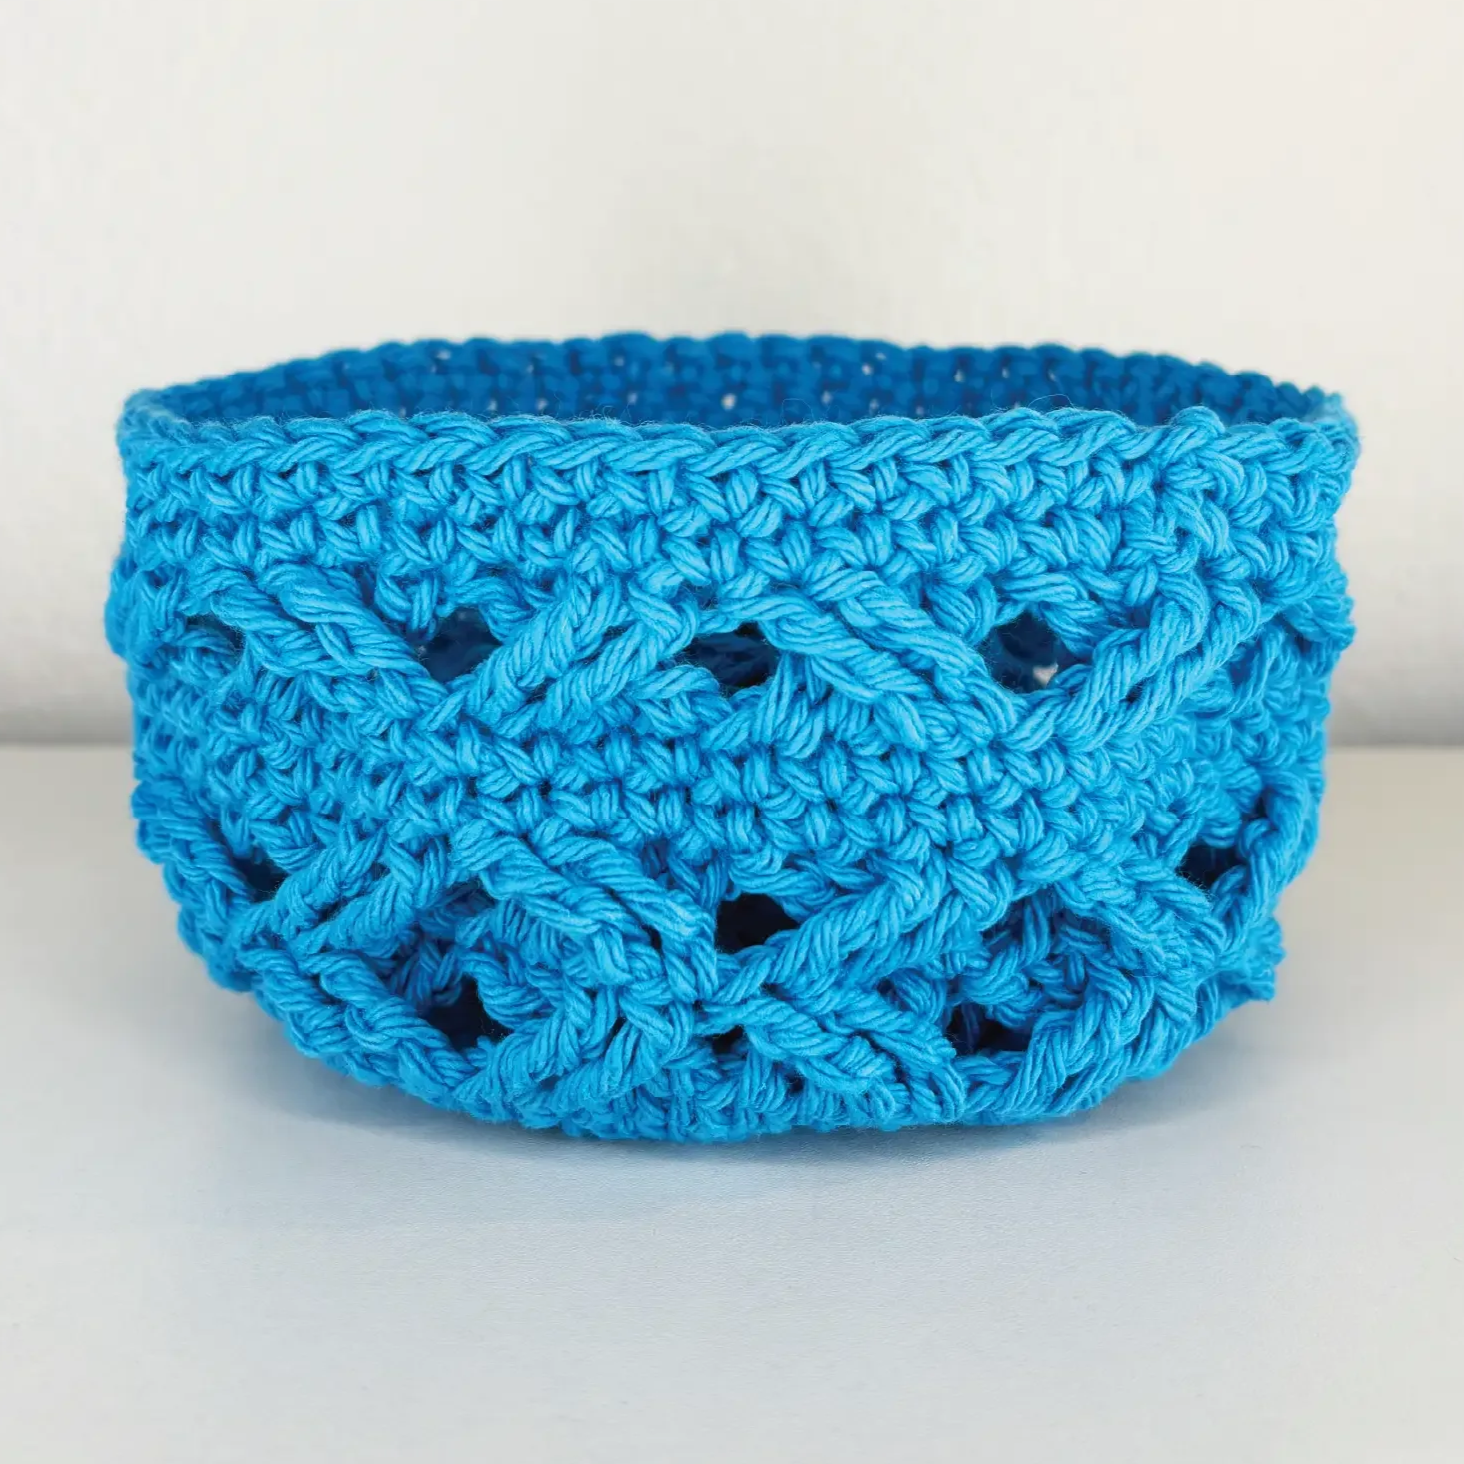
Work a repetitive crochet pattern. First make sure the last round you worked has a “total number of stitches in round” seen as “(X*#)” equal to the repetitive pattern’s multiplier.
For example, if the repetitive pattern begins with “ch multiples of 4” your last round before it must have a total number for stitches equal to a multiple of 4. If you are not sure what the multiplier is create a sample and count the number stitches in one repeat. All my repetitive crochet patterns include this multiplier with the foundation ring (FR). Shop Here!
Strap and Closures
There are many ways you can finish your bag depending on how you will use it.
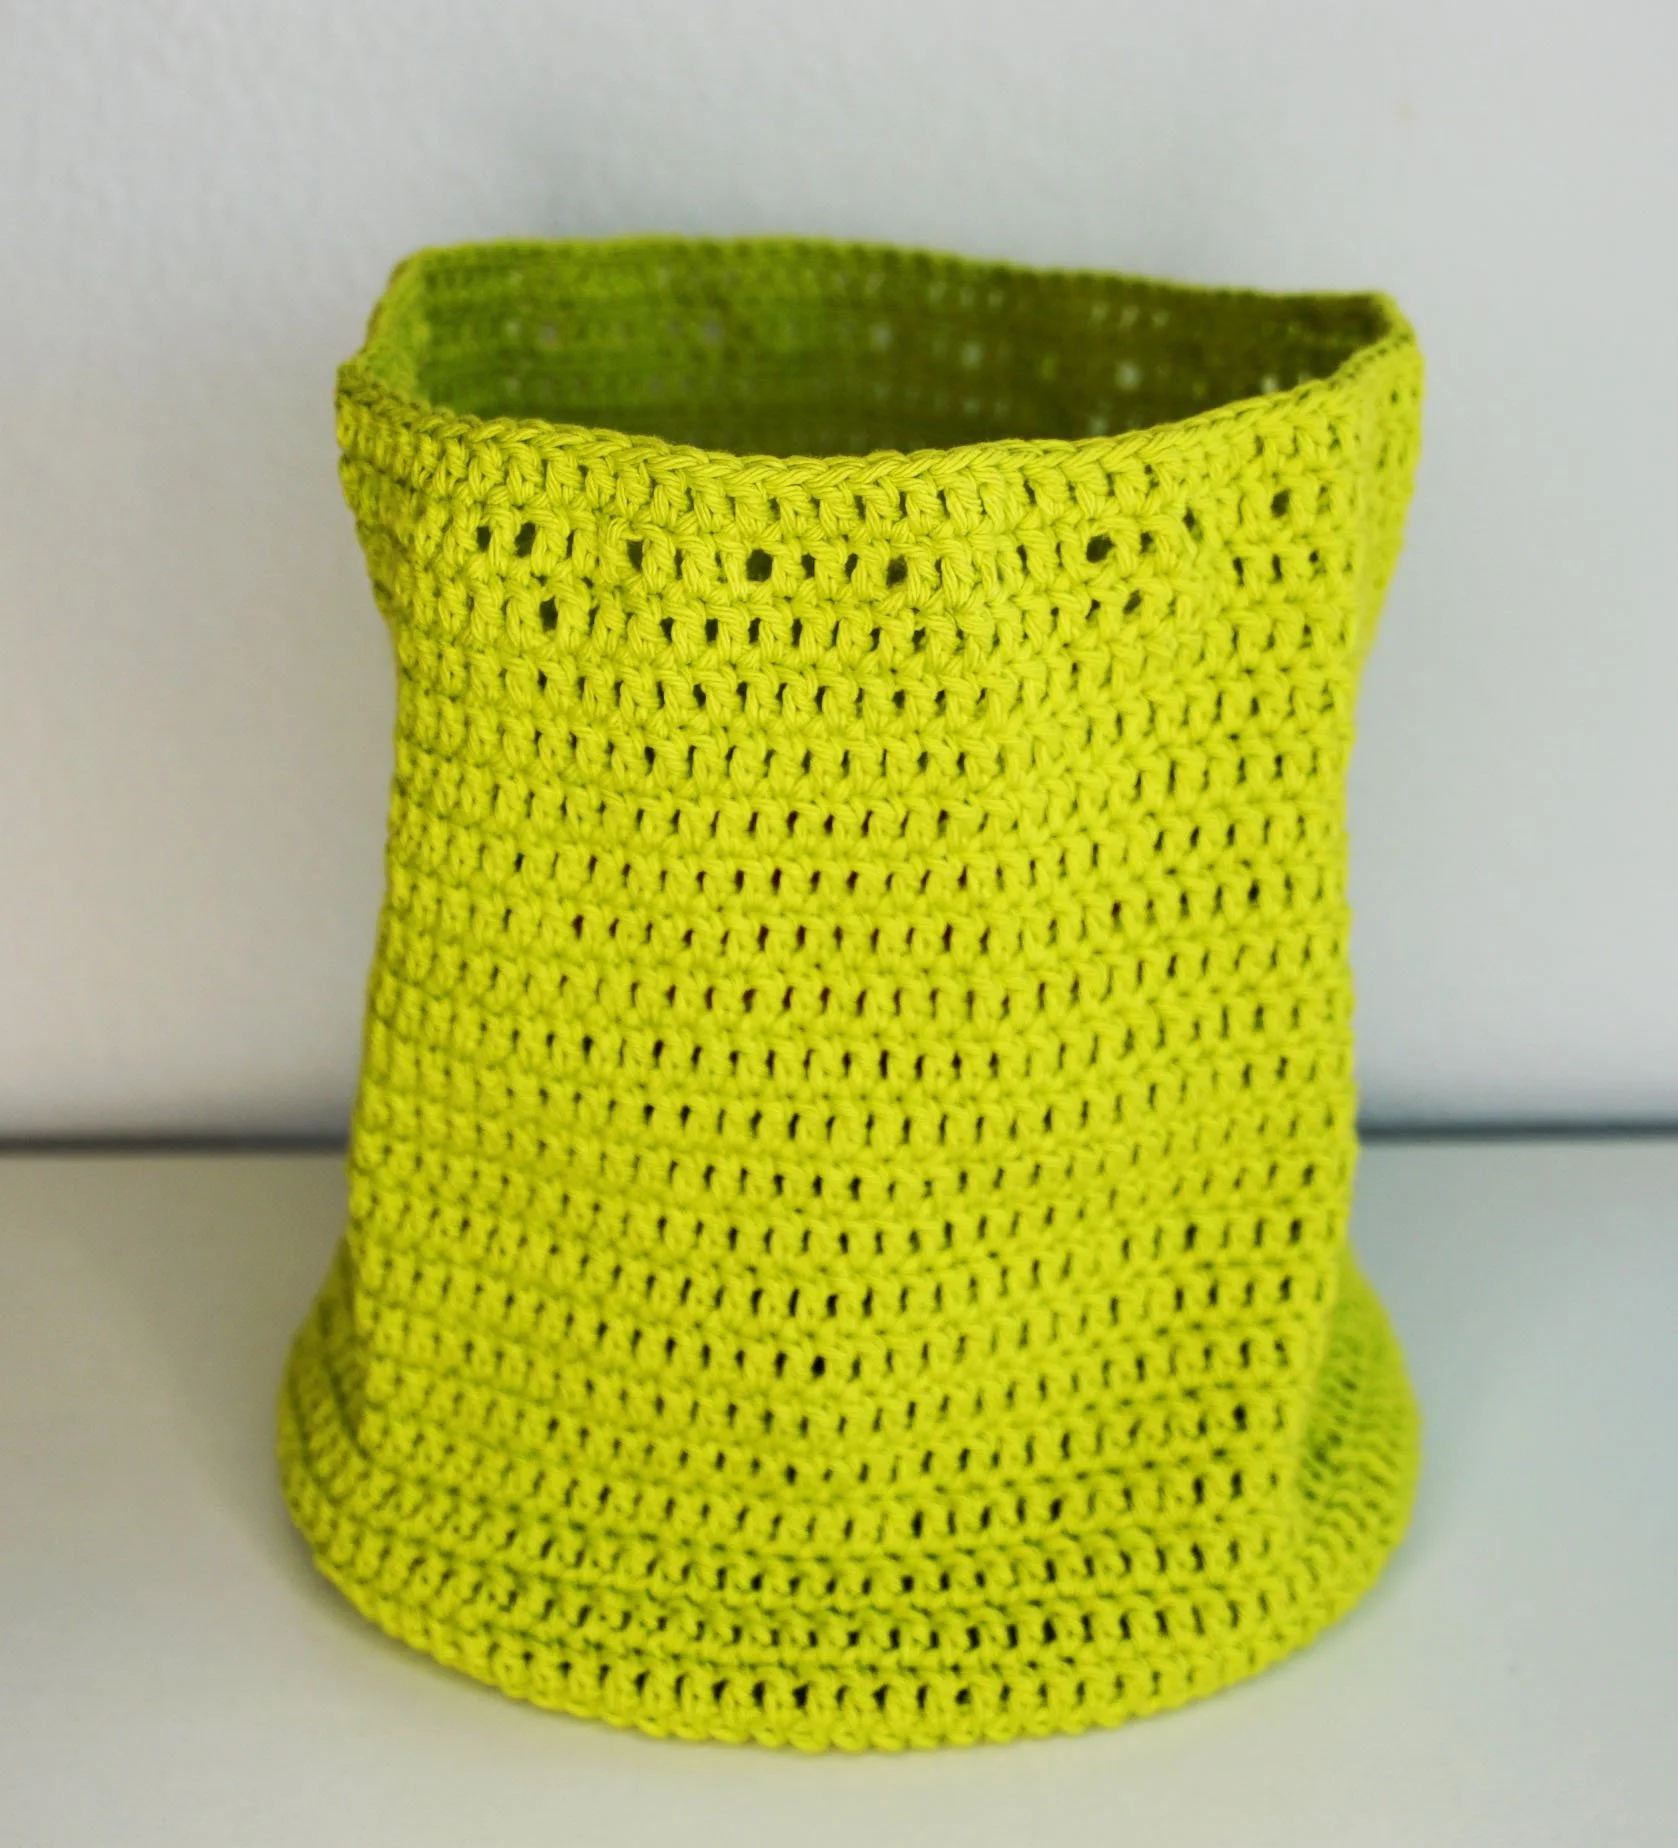
Leave the top open.
Great for:
Drink Cozy
Fruit Bowl
Bucket Hat
Drawstring - create a rope to weave in and out of one of the top rounds and connect the rope ends together or leave apart.
Great For:
Gift Bag
Grocery Bag
Crossbody Bag
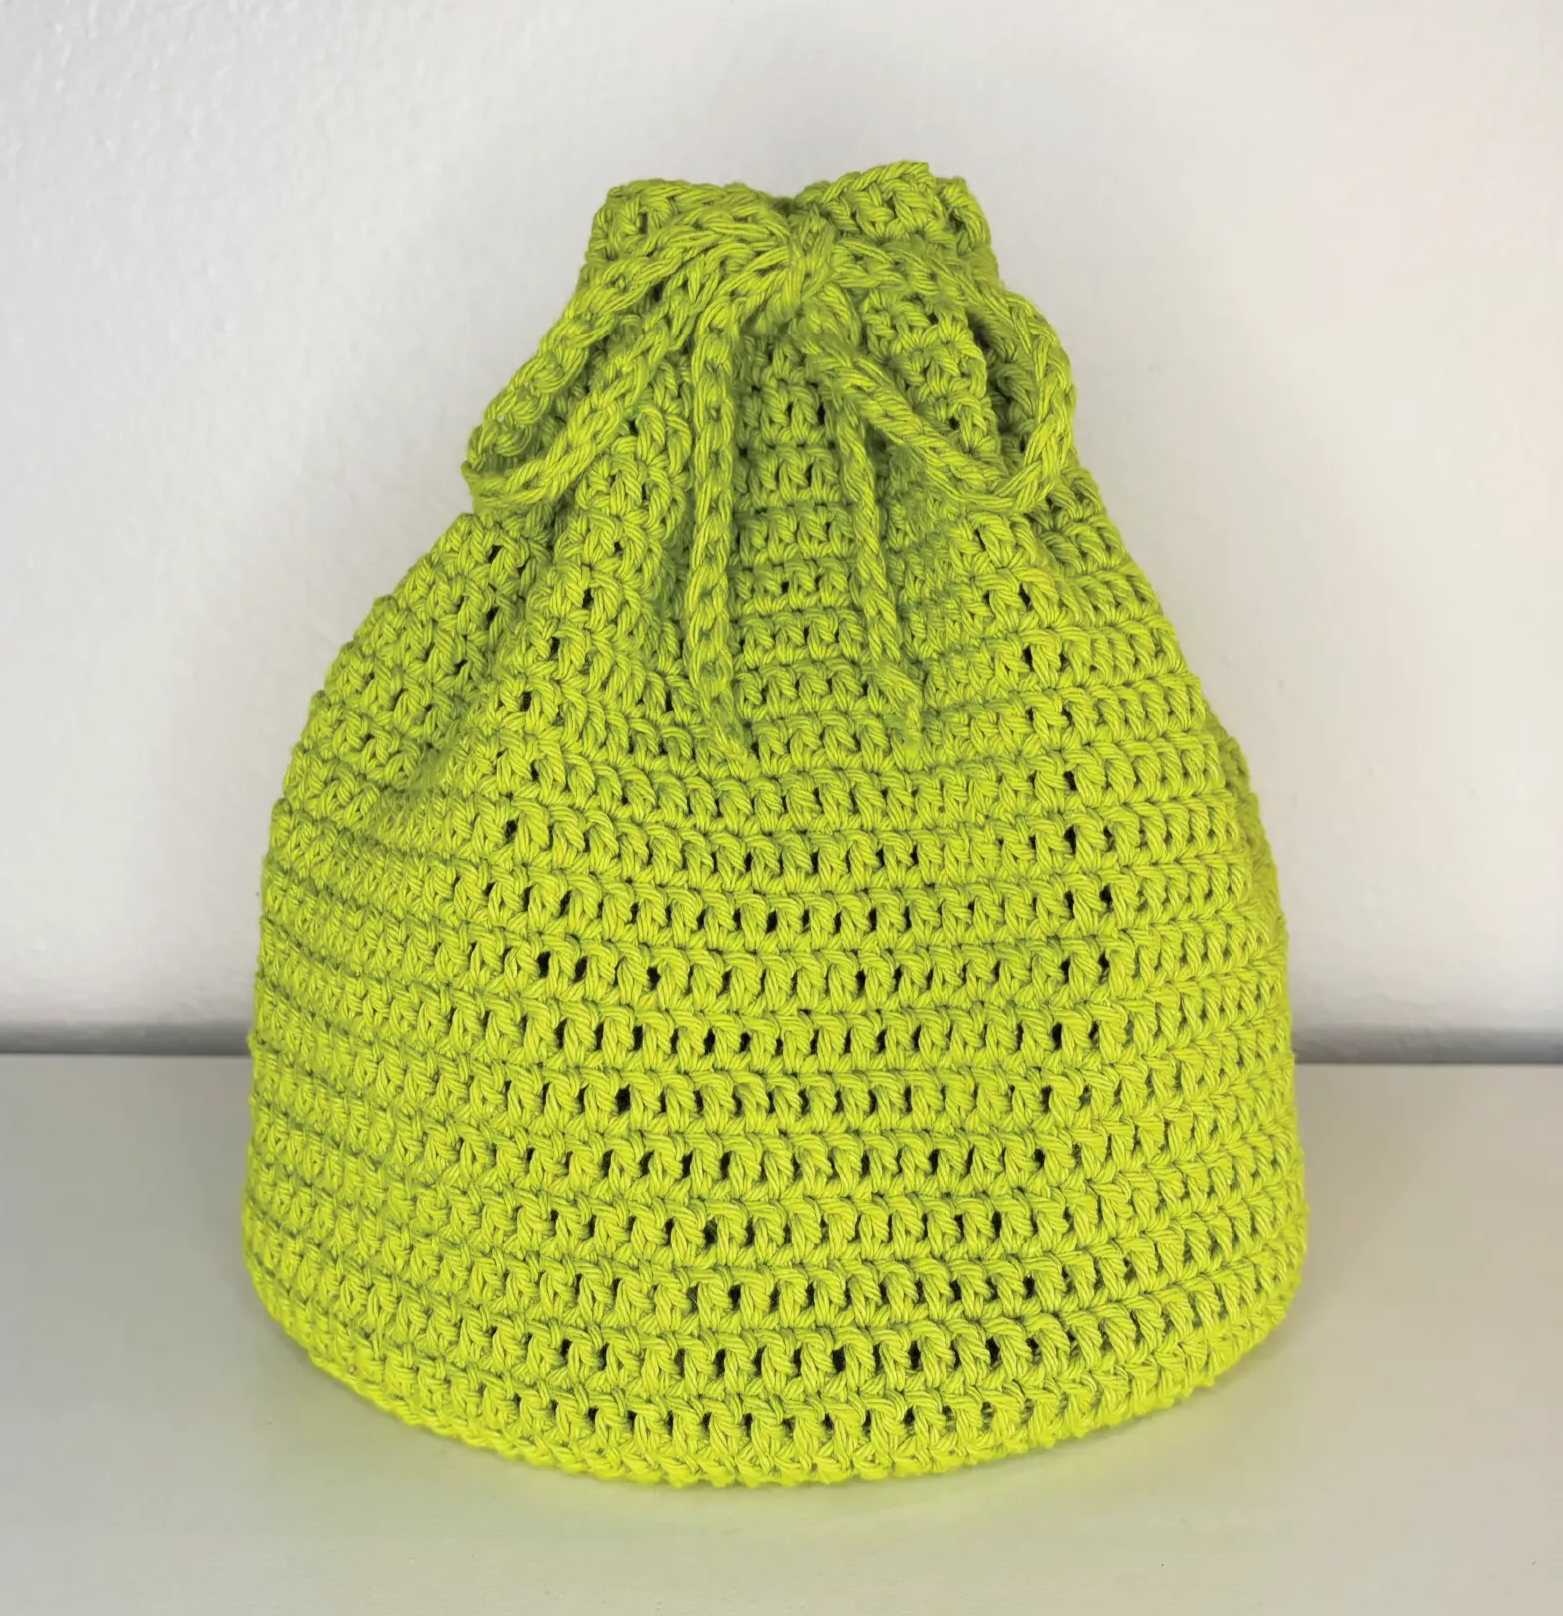
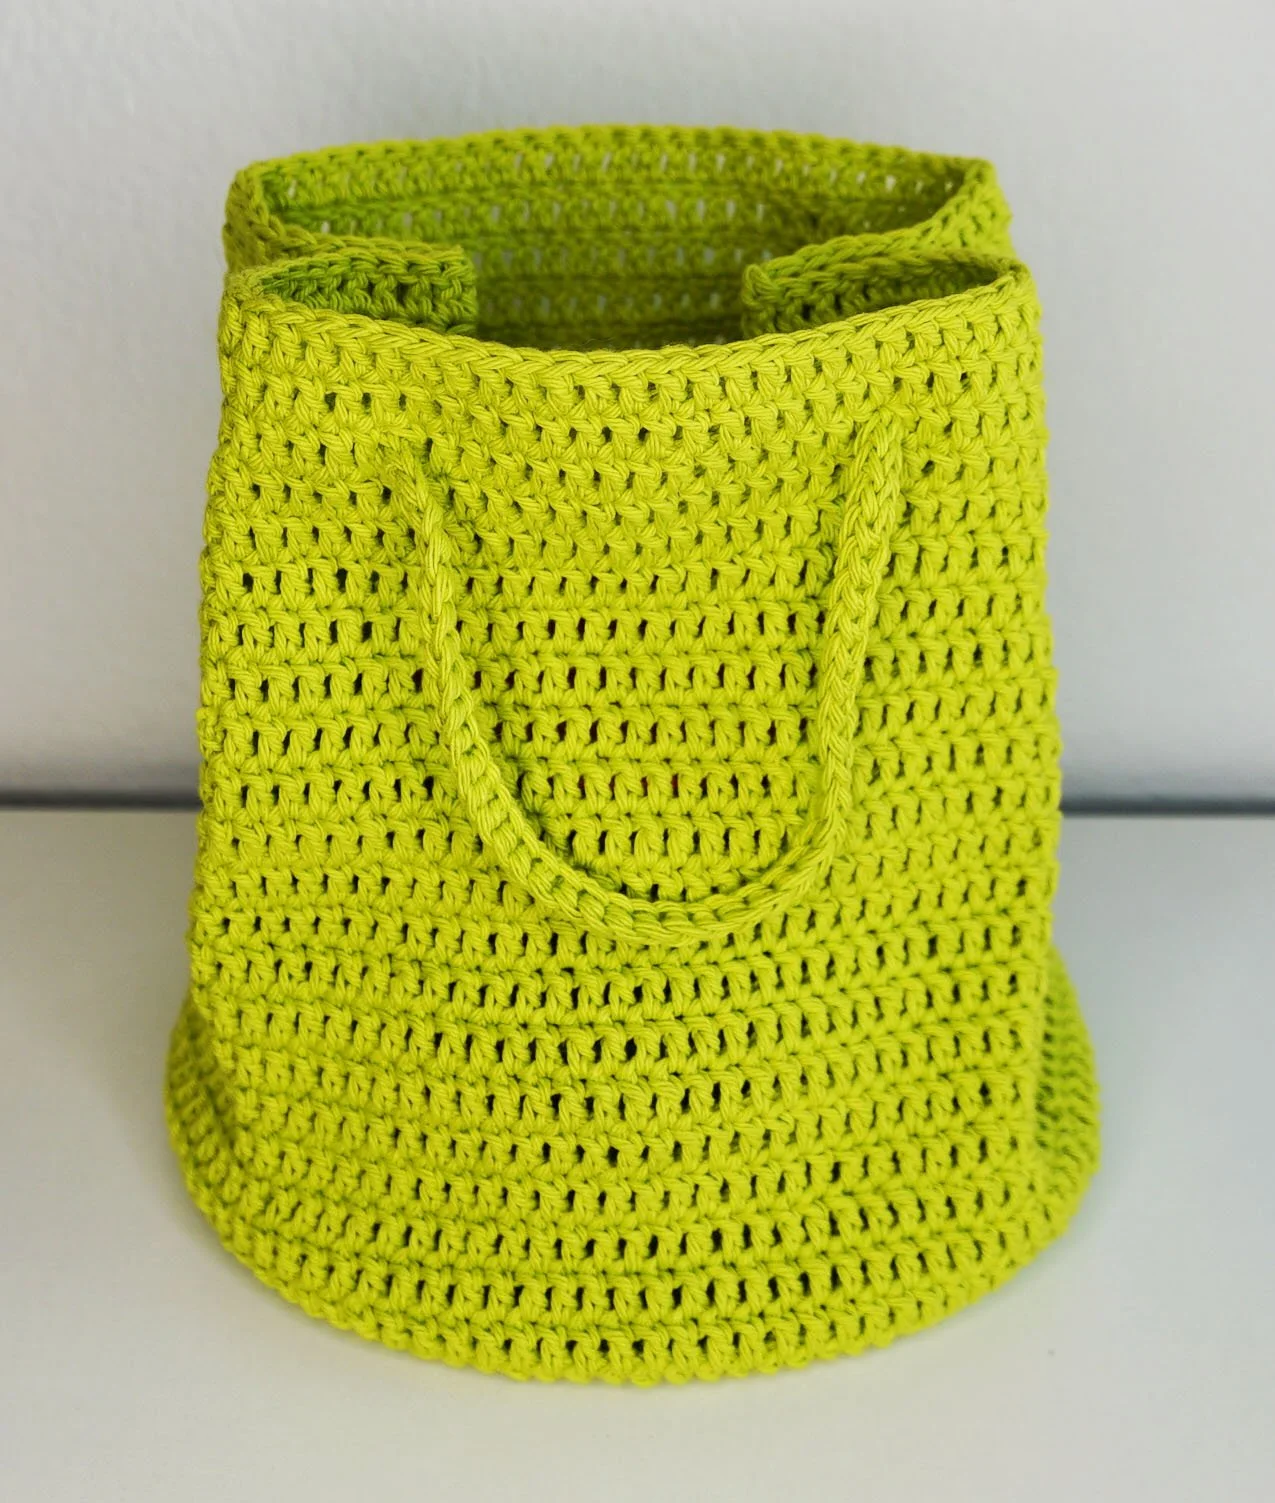
Pinched in sides - fold in the sides then create a rope and insert it through the layer of one side then the other and connect the rope ends together.
Great for:
Party Bag
Hand Bag
Tote Bag
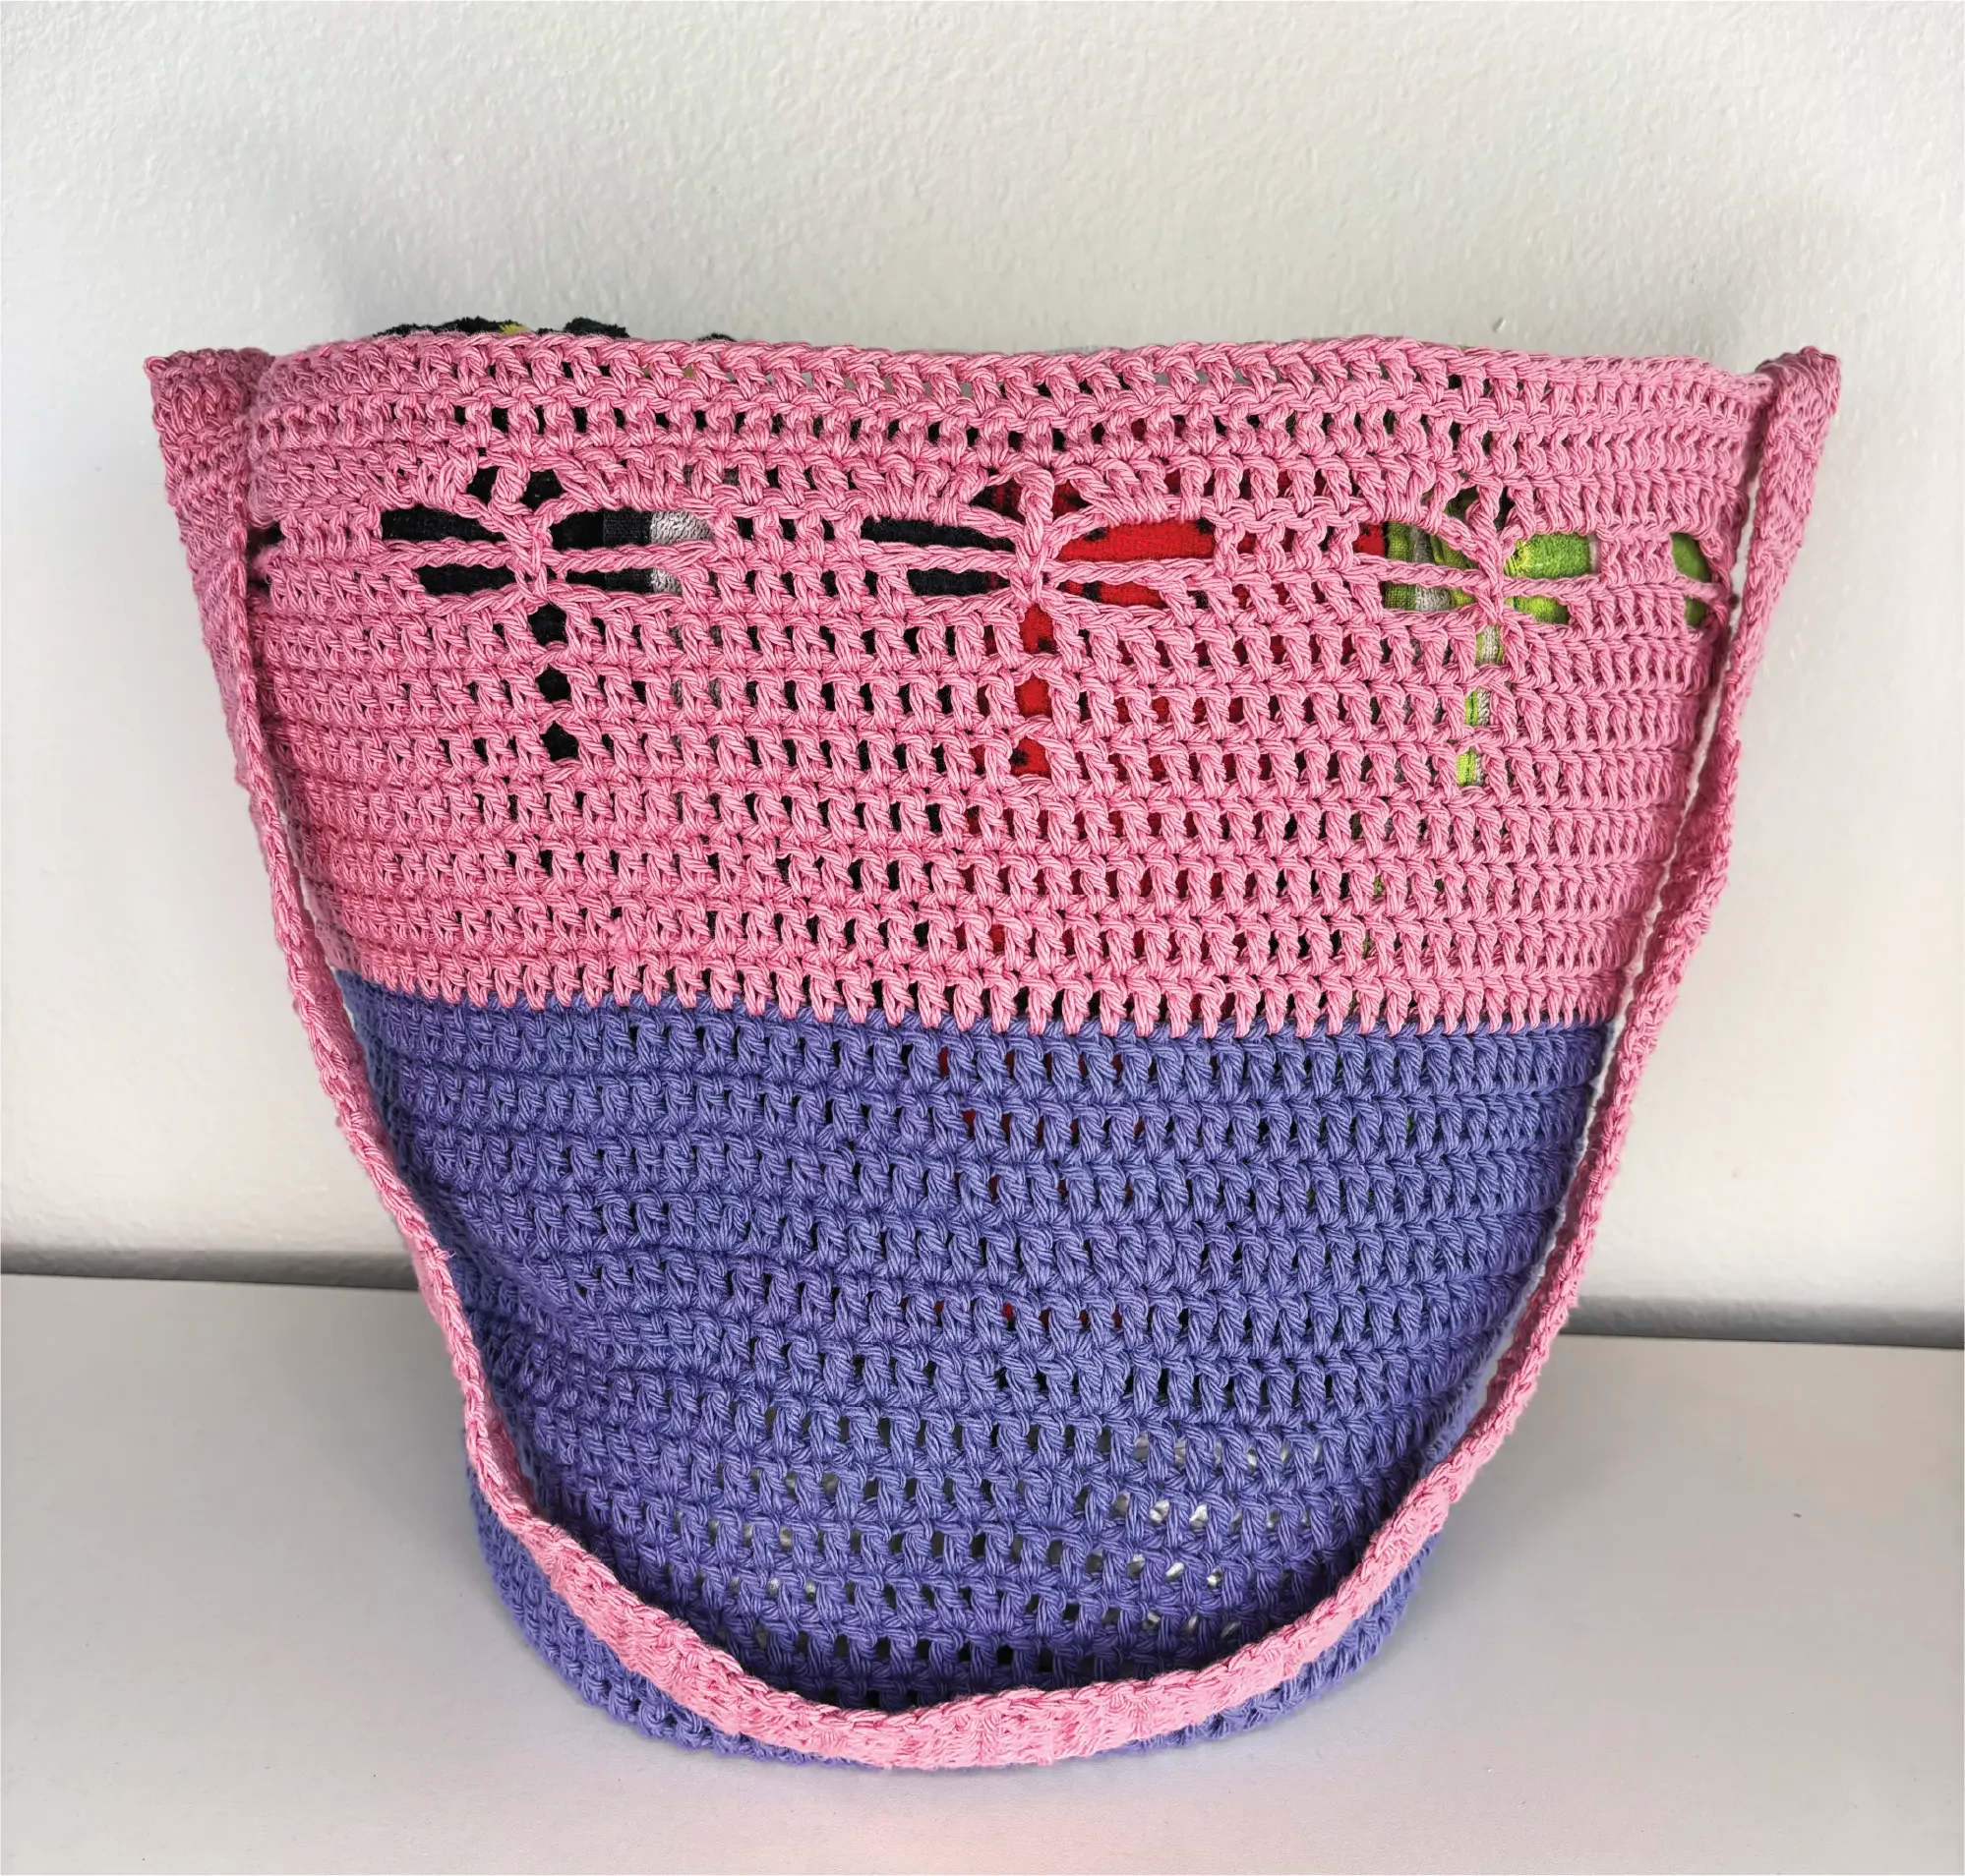
Thick Straps for bigger bags - crochet a long strip then attach each end to the bag. Ends can be attached across from each other at the top of the bag, as seen in the picture, or one at the top and one at the bottom like a yoga bag. You can also start by working one end directly on the bag then attaching the other end once you finish the strip.
Great For:
Beach Bag
Travel Bag
Yoga Bag